And off we goooooo!!!
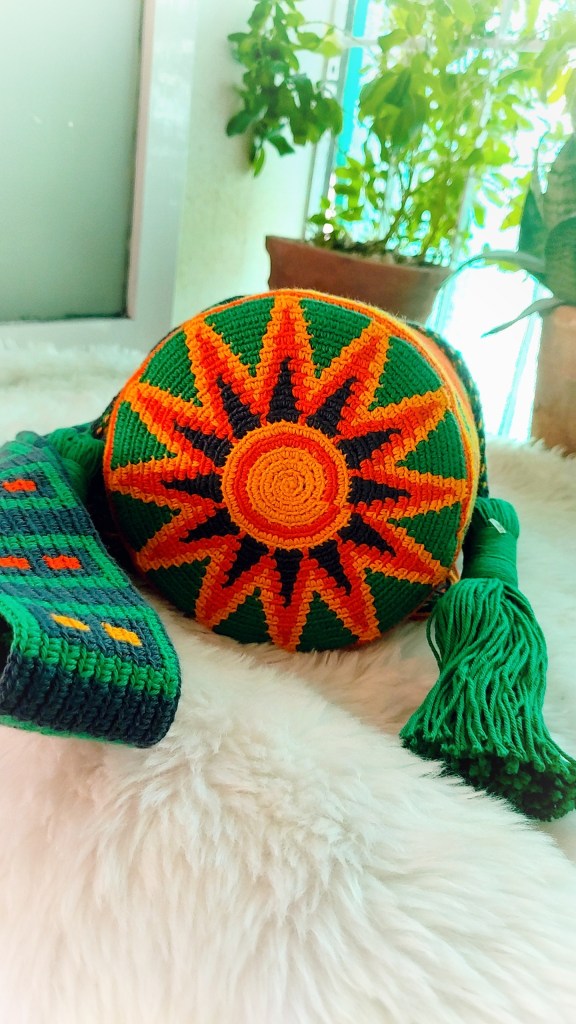
Hello Everyone!!! The Sunburst Diamond Mochila Bag CAL has begun!!! We are so excited!
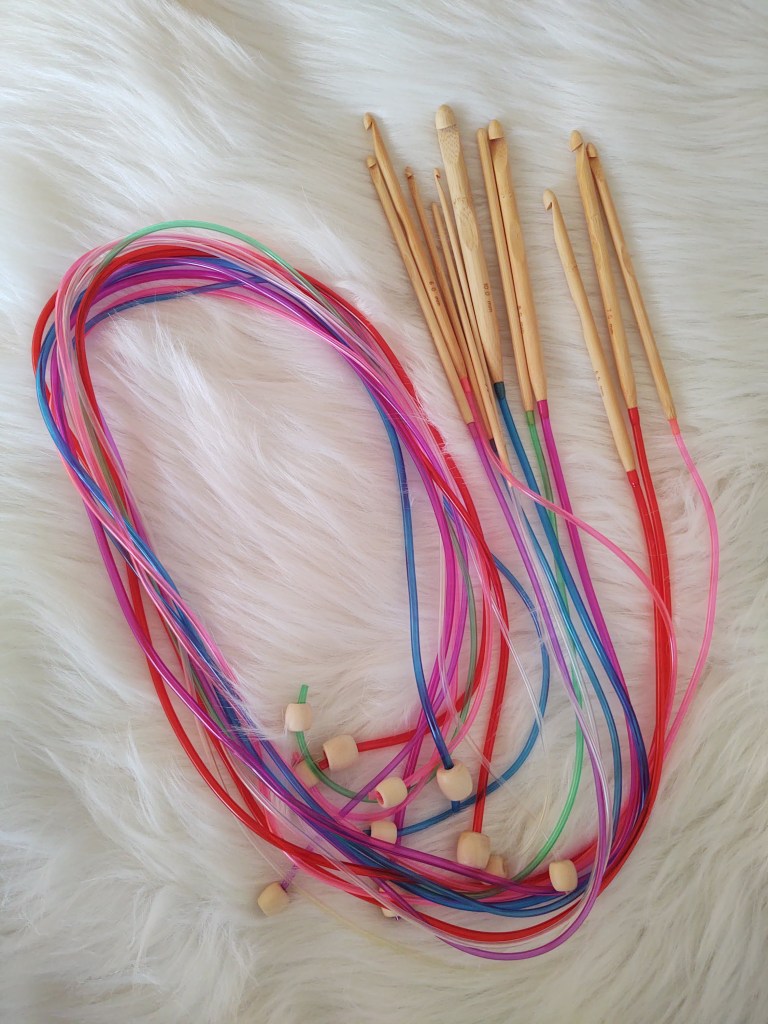
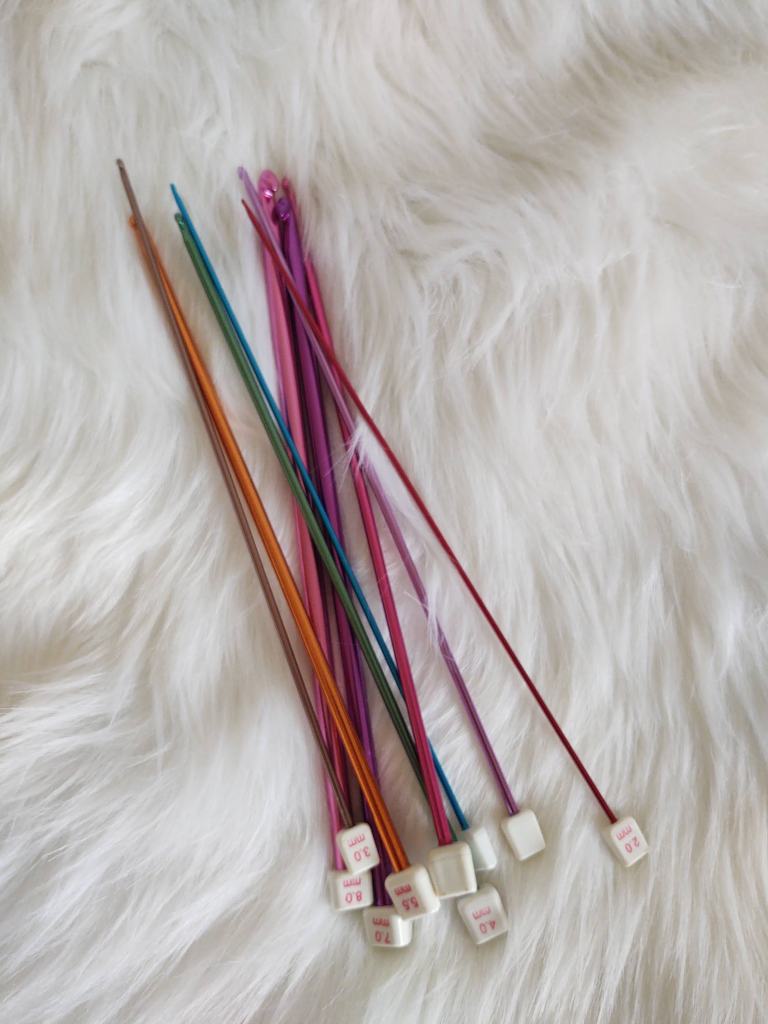
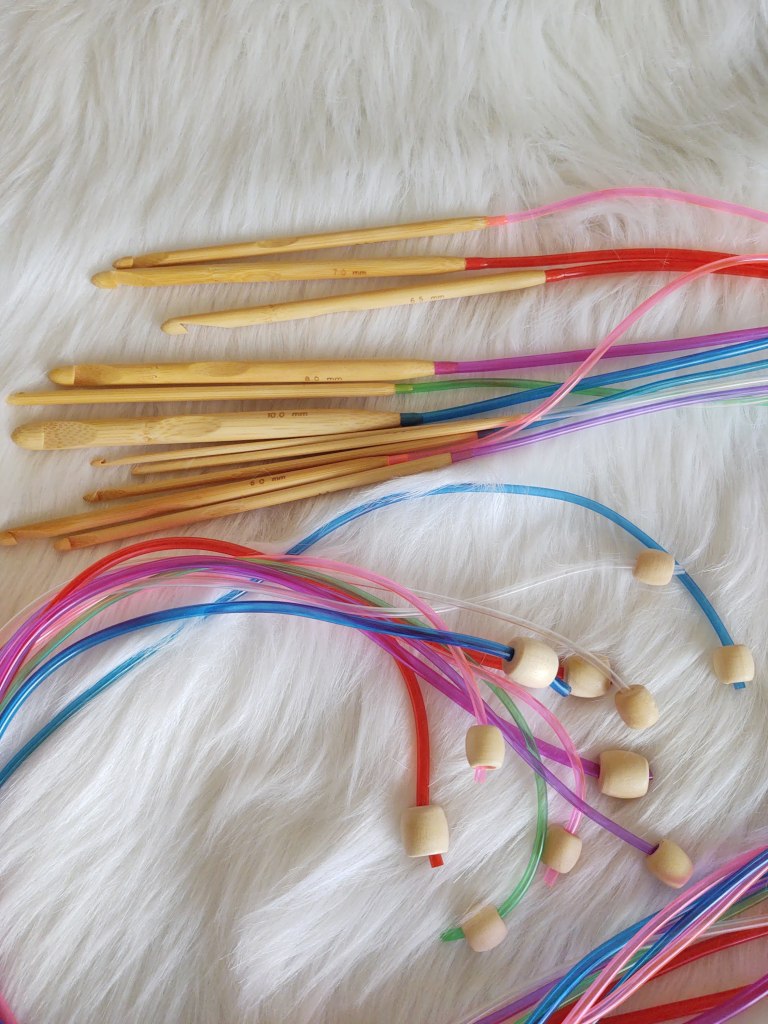
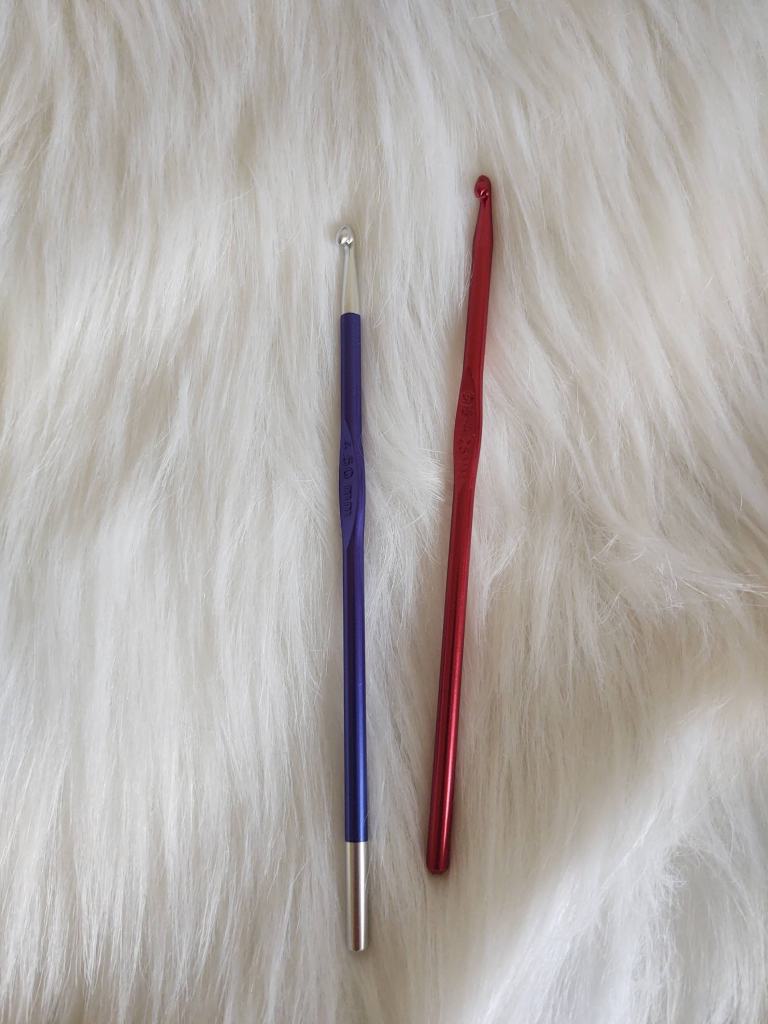
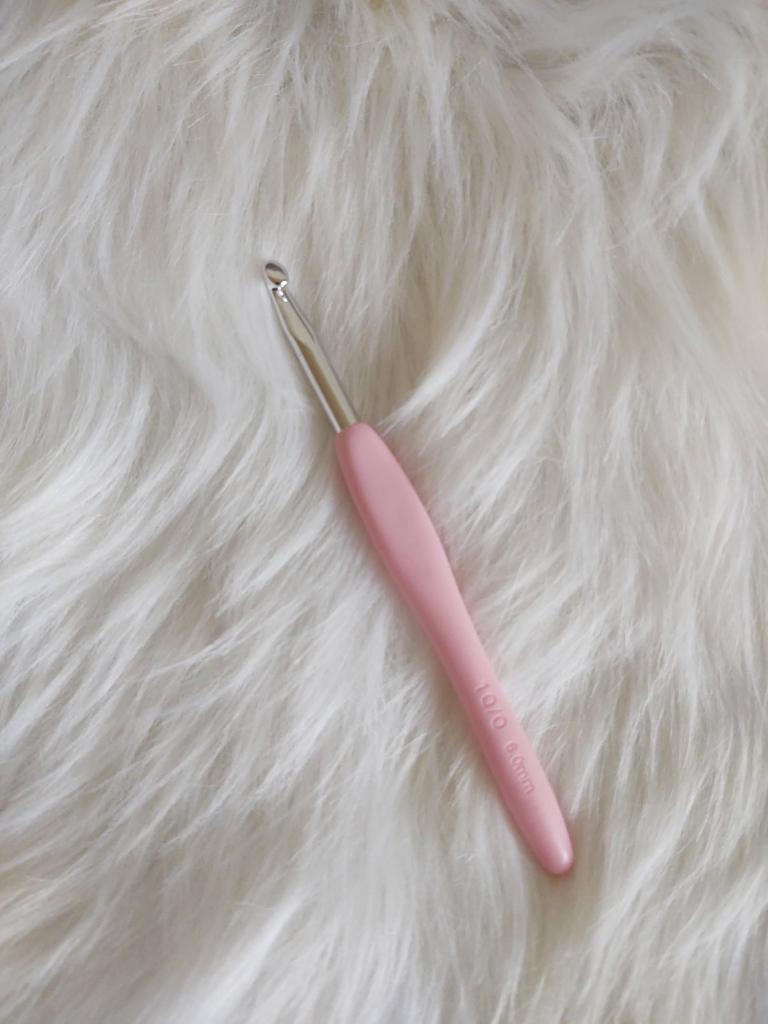
Hope you have gathered all the materials required for the Sunburst Diamond Cal!
If you have no clue about what we are talking, you can check out all about the cal, our geust designer, the material list, notes on starting and tips and tricks required for the CAL, AND REGISTER HERE.
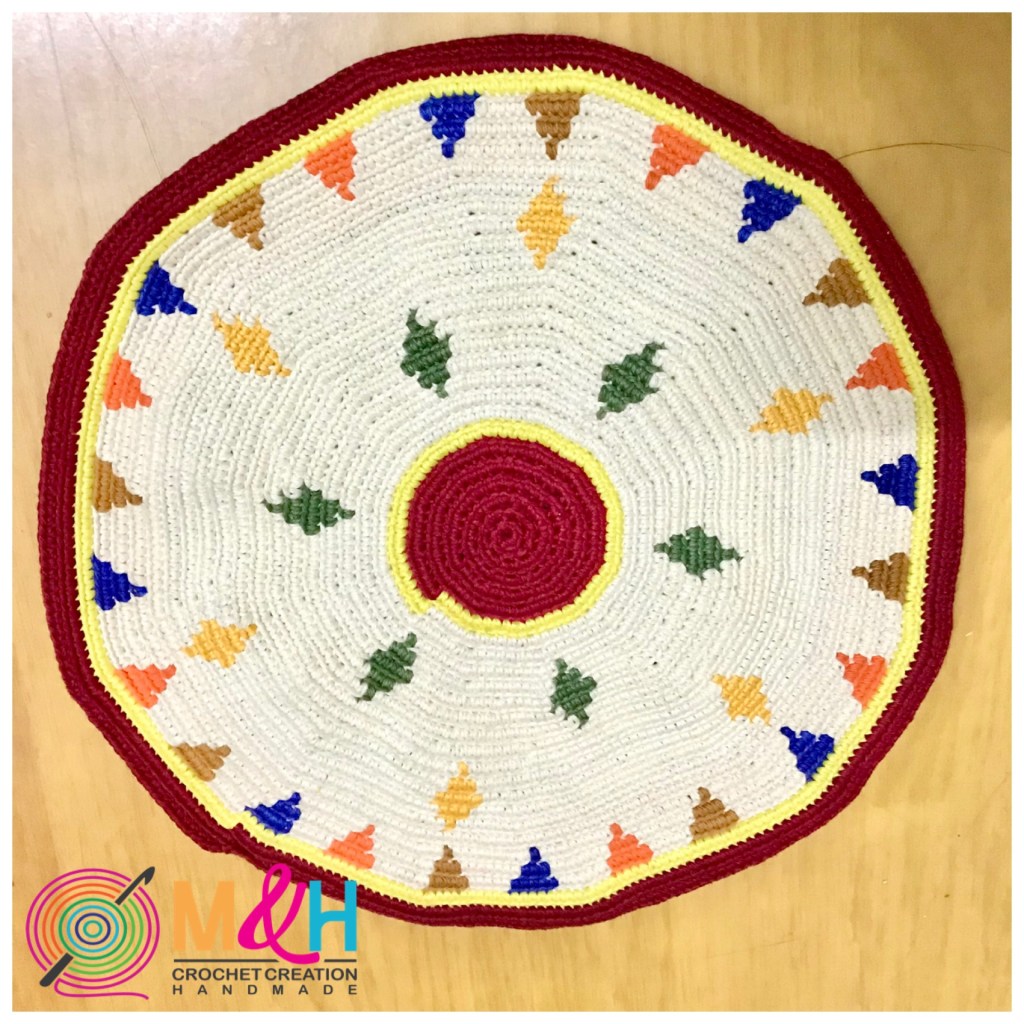
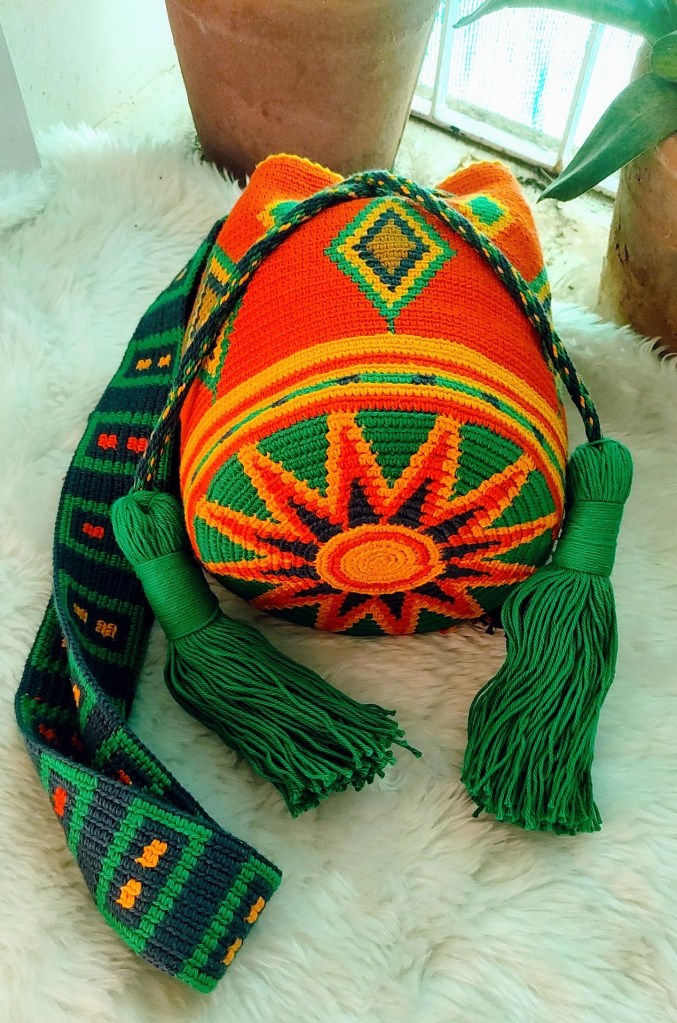
This week we officially kick start the CAL with instructions for making the base of the bag.
Week — 1: Base
Abbreviations
A = Orange
B = Green
C = Yellow
D = Navy Blue
E = Light Brown
2 C = crochet 2 stitches with color C
2 D = crochet 2 stitches with color D
2 A = crochet 2 stitches with color A
2 B = crochet 2 stitches with color B
3 B = crochet 3 stitches with color B
4 B = crochet 4 stitches with color B
5 B = crochet 5 stitches with color B
4 C = crochet 4 stitches with color C
inc = increase (2 single crochet in one stitch)
inc C = increase with color C
inc DA = increase with 2 colors (one stitch in color D and one stitch with color A)
* * = repeat what is between * *
{6x} = repeat 6 times what is between * *
{12x} = repeat 12 times what is between * *
( ) = total number of stitches at the end of the round
NOTES
1. The whole bag will be worked in back loops only.
2. We carry all the yarns throughout the whole bag.
3. We Pull the carrying yarn GENTLY every few stitches and massage the stitches in the direction of the hook.
4. Use the yarn FROM INSIDE OF THE SKEIN and when change the color, pick up the yarn from the skein and follow to our work.
5. Stitch counts at the end of each round is mentioned in brackets (#).
Written instructions

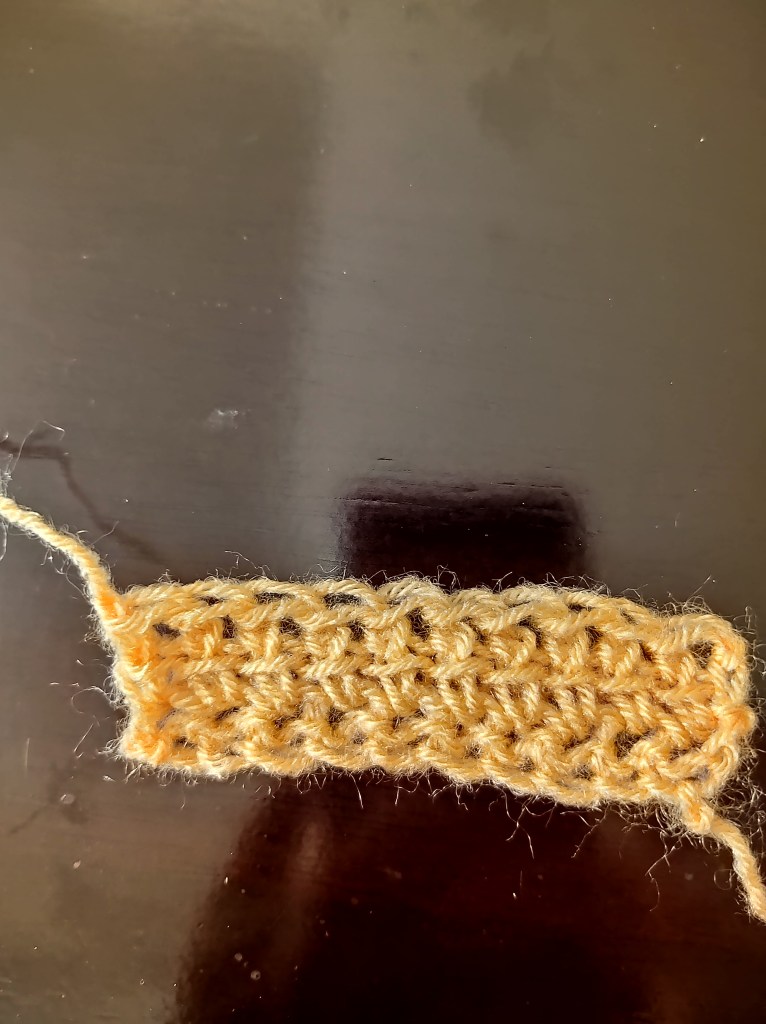
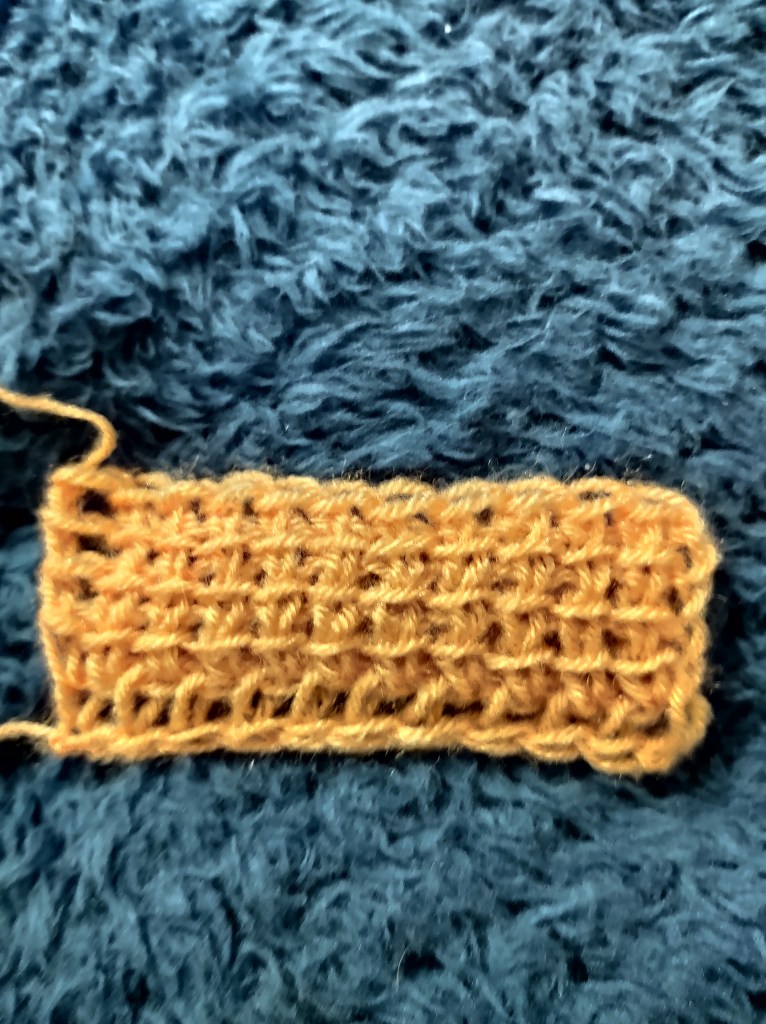
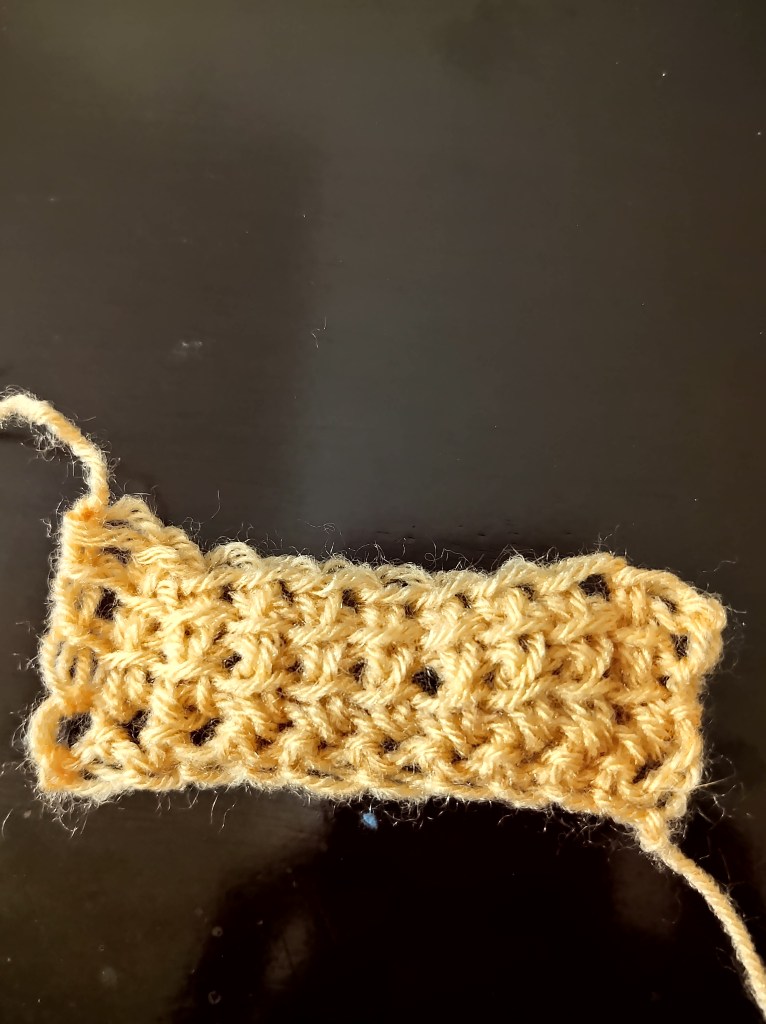
ROUND 1 TO 8
Round 1. With color C make 6 sc in magic circle……………………………….add yarn color A
Round 2. * inc C* {6x} (12)………..add yarn color B
Round 3. * inc C* {12x} (24)………..add yarn color D
Round 4. *1C, inc C* {12x} (36)……….add yarn color E
Round 5. *1A, inc A, 1A* {12x} (48)
Round 6. *2C, inc C, 1C* {12x} (60)
Round 7. *1A, 1D, inc D, 2D* {12x} (72)
Round 8. *2A, 1D, inc D, 1D, 1A* {12x} (84)
LINKS
Round 1 to 4:
Round 5 to 8:
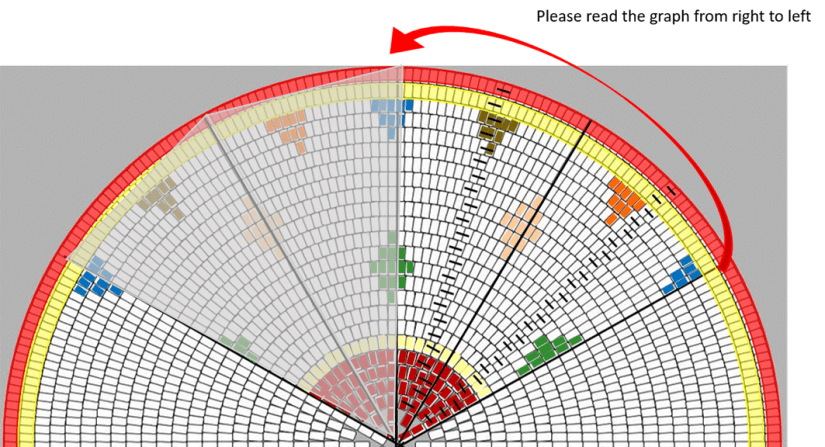
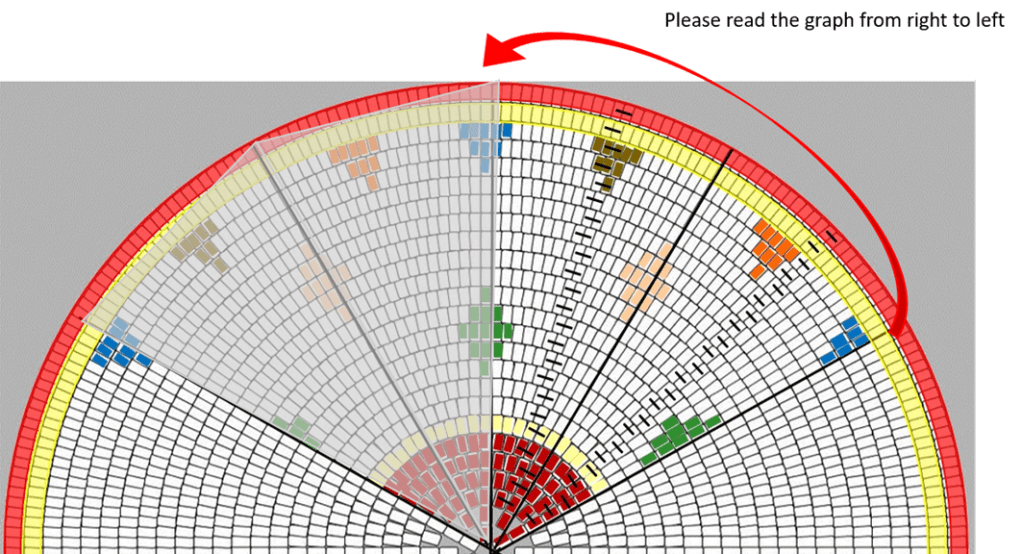
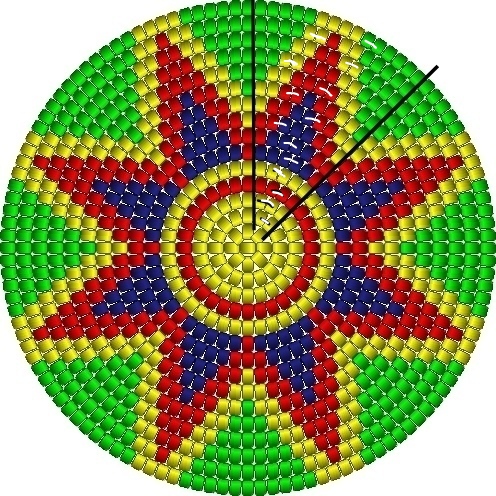
GRAPH

REMINDER
1. We will follow 1/8th part of the graph only and not the complete graph.
2. The graph starts at round 3
3. Read the graph from right to left.
4. The white lines mark the increases.
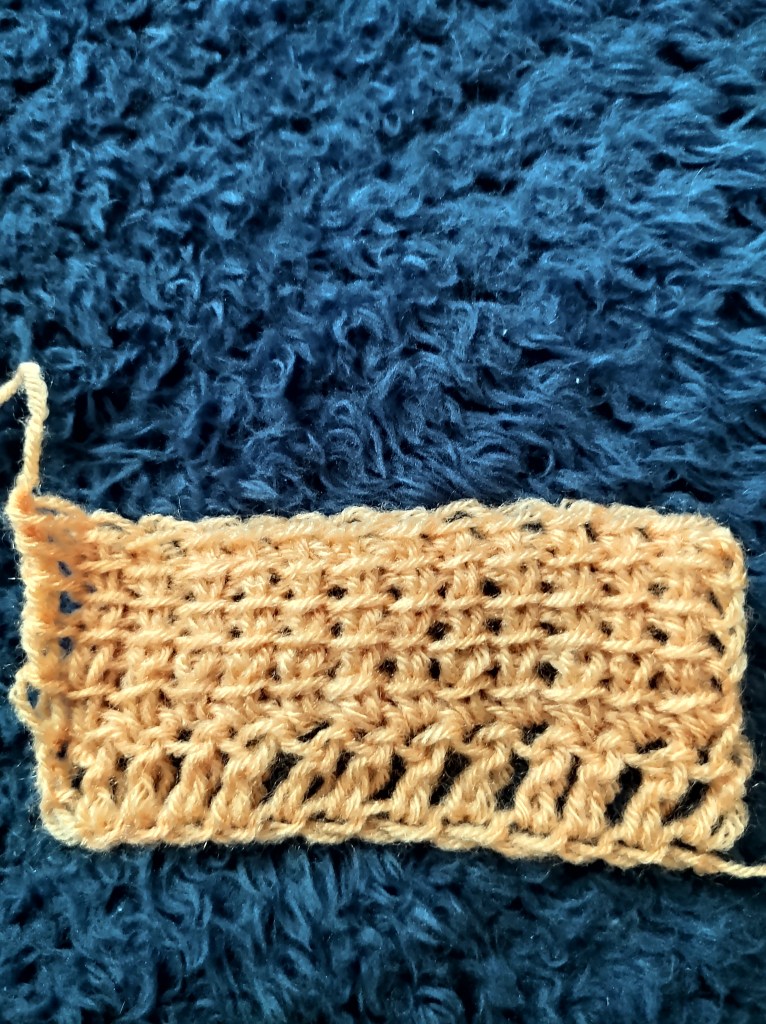
ROUND 9 TO 16:
Round 9: *1C, 2A, 2D, inc DA, 1A*…………………………………………..{12x} (96)
Round 10: *2C, 1A, inc AD, 1D, 2A, 1C*…………………………………….{12x} (108)
Round 11: *1B, 2C, 2A, 1D, inc A, 2C*…………………………………… {12x} (120)
Round 12: *2B, 2C, inc A, 2A, 2C, 1B*……………………………………….{12x} (132)
Round 13: *3B, 2C, 3A, inc C, 2B*……………………………………………{12x} (144)
Round 14: *4B, inc C, 2A, 2C, 3B*…………………………………………….{12x} (156)
Round 15: *5B, 2C, 1A, inc C, 4B*…………………………………………….{12x} (168)
Round 16: *4B, inc B, 4C, 5B*………………………………………………….{12x} (180)
LINKS
Round 9 & 10:
Round 11-16:
Complete Graph
Thats it for Week 1! You can always get in touch with us by leaving a comment below or dm us on instagram @indiayarn.circle or join us on our facebook group where all the action happens!!
We would love to see your makes!! So dont forget to tag us @indiayarn.circle and our designer @handmadeby_ashita on instagram and facebook and use hashtags #sunburstdiamondcal #indiayarncircle #sunburstdiamondmochilacal #IYCcal
HAPPY CRAFTING!!!