We are on our last section of this CAL and We cant believe it!!
Its been super fun to see the progress and work with all of you on this CAL!!
Before we dive into this week instructions, here are links to previous weeks.
Materials and Registration Week – CLICK HERE.
Base of the Bag – Week 1 – CLICK HERE.
Side / body of the bag part 1 – Week 2 – CLICK HERE.
Side/ Body pf the bag Part 2 – Week 3 – CLICK HERE.

This week is all about the cord, tassels, straps and different ways of making it! So lets dive in!
Cord, Tassels, Strap
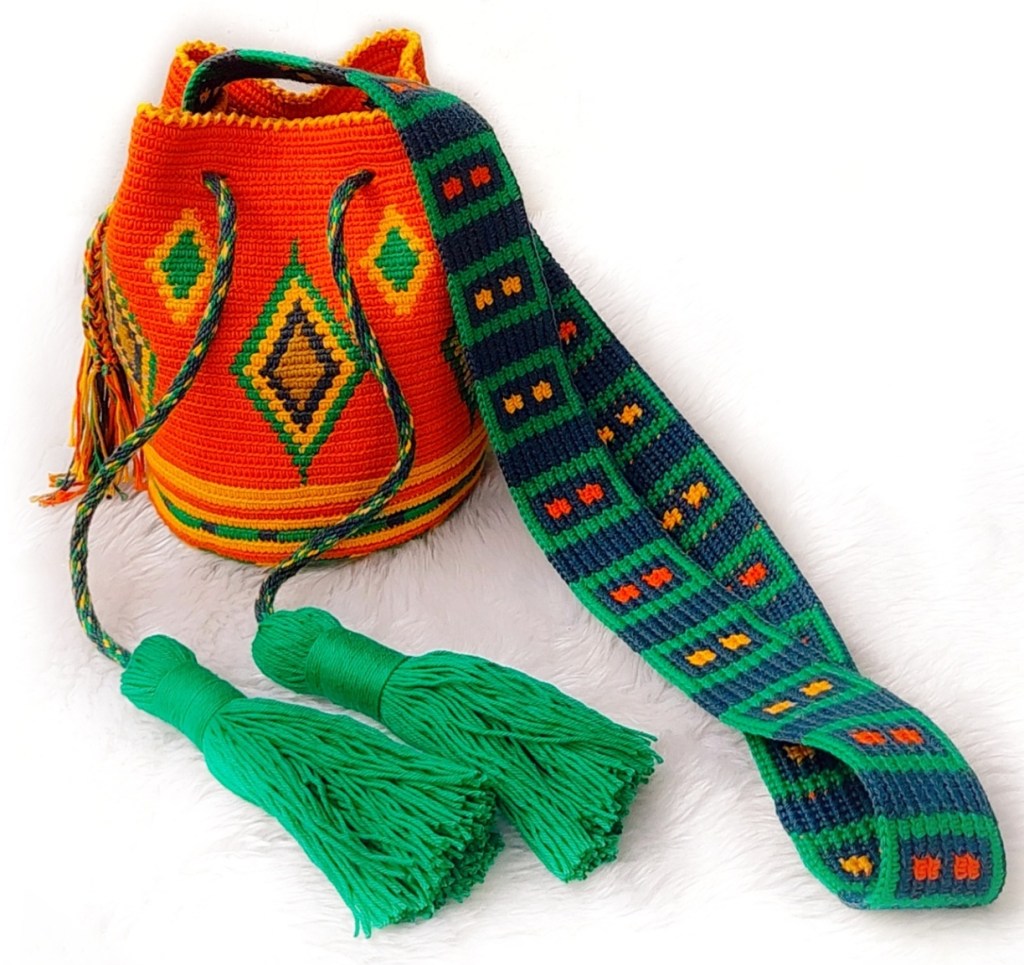
Cord
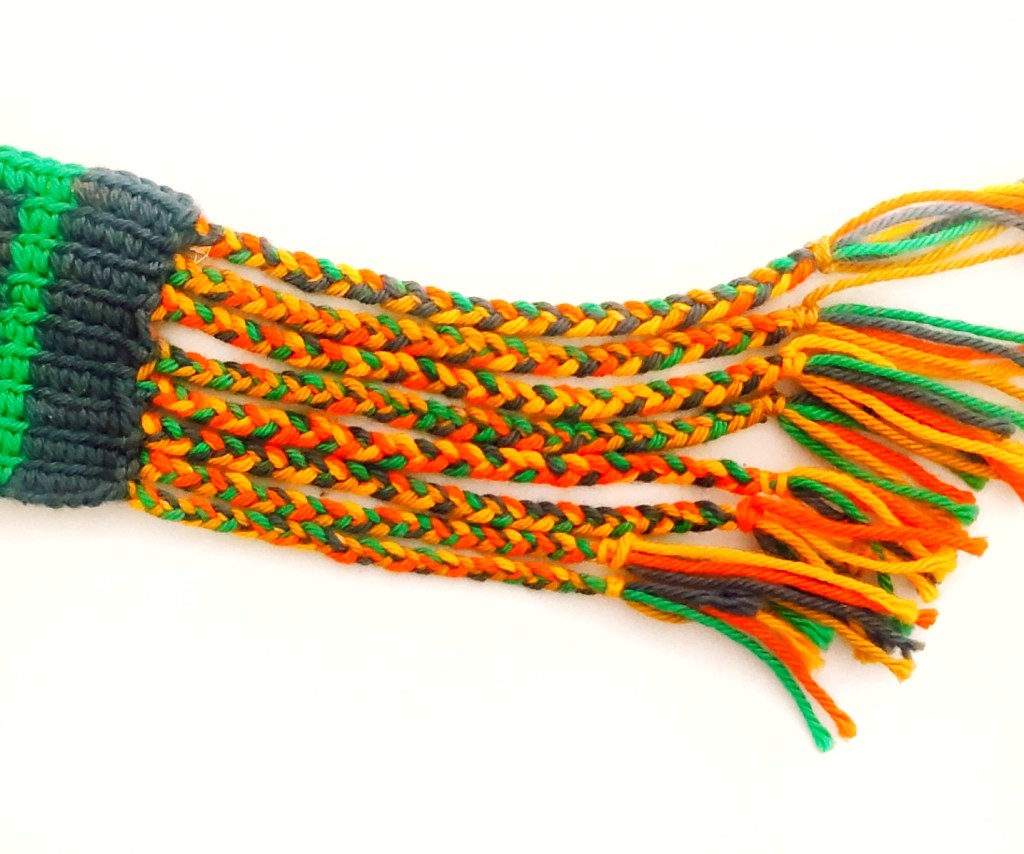
We can make either a braided cord or a kumihimo cord.
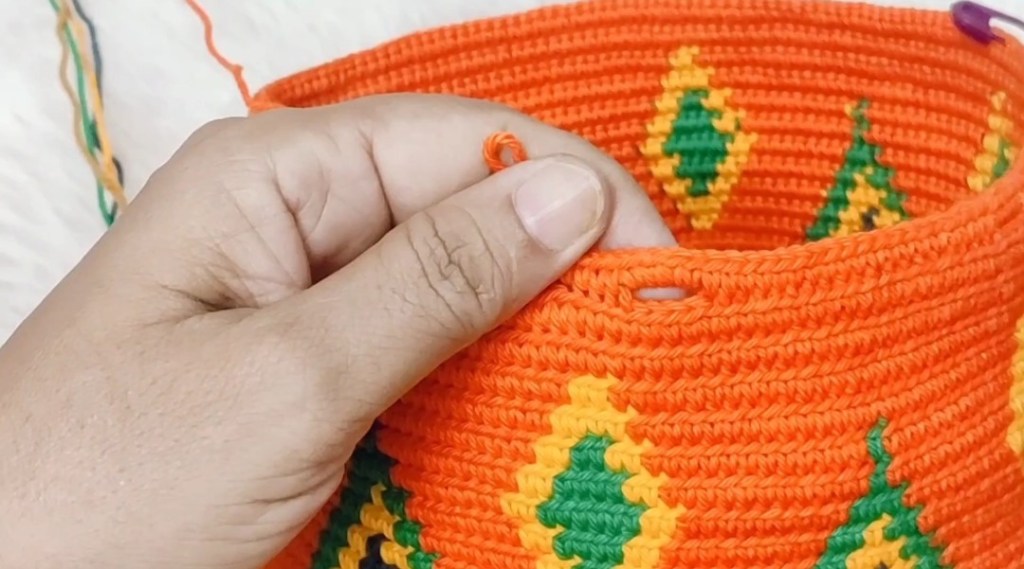
1) Braided Cord: If you are using a braided cord, this way you can measure the length.
Put a piece of any color yarn through the holes of the bag and tie it the way you want.
And measure this length.
Take a couple of yarns of all 5 colors and divide them into three sections and start
braiding.
2) Kumihimo Cord: It is made with a Kumihimo Disc. The yarns have to be 3 times longer than the length
you want your cord to be. Kumihimo cord stretches a little so keep the measurement
smaller than the length actual required.
I have used pattern #k10551 from friendship-bracelets.net
added by KimS23
Sample Cord measures 89cm/ 35 inches
You can use any pattern you desire.
You can refer to this video as reference.
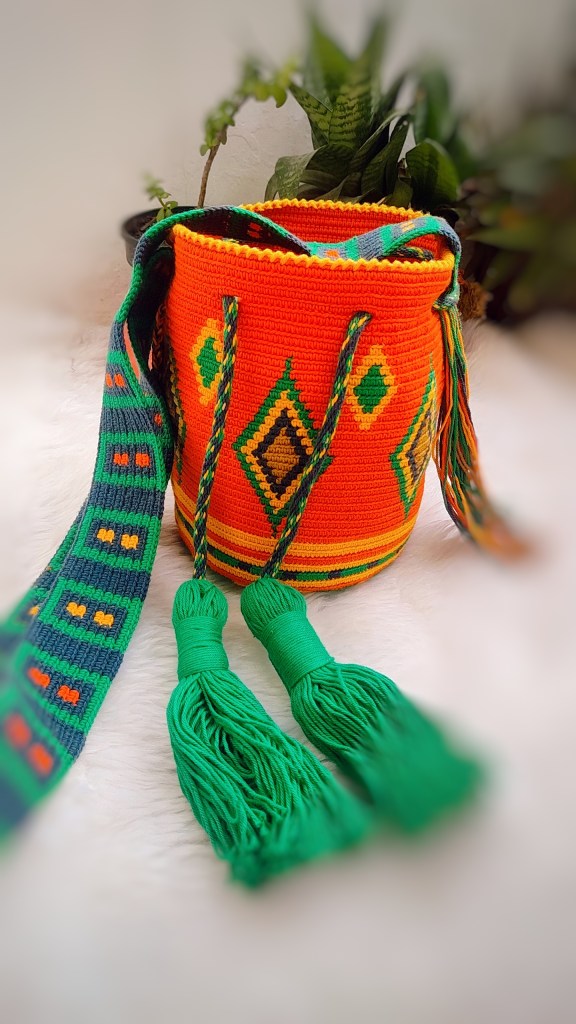
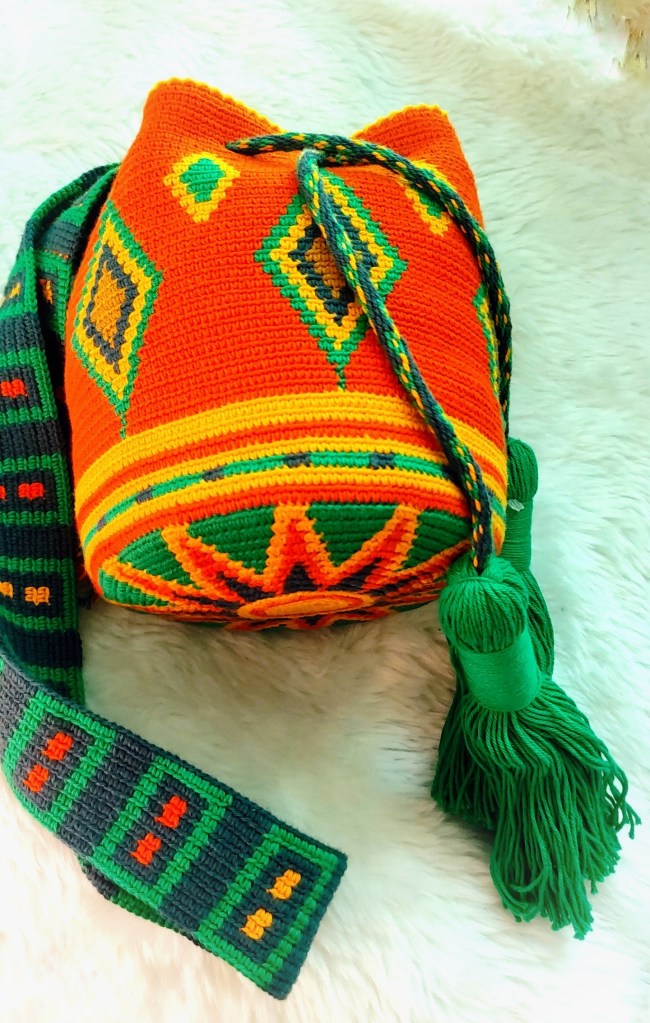
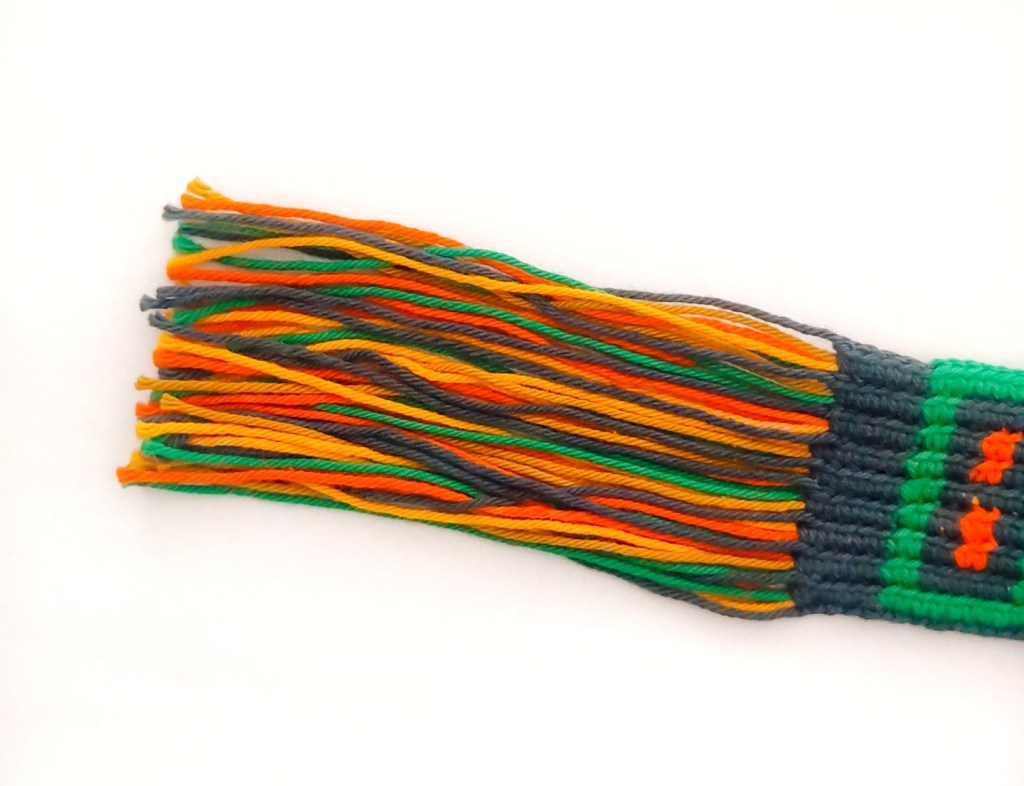
Tassels
Make tassels of your choice.
Add tassels to your cord once you put the cord through the holes in your bag.
You can refer to this video as reference.
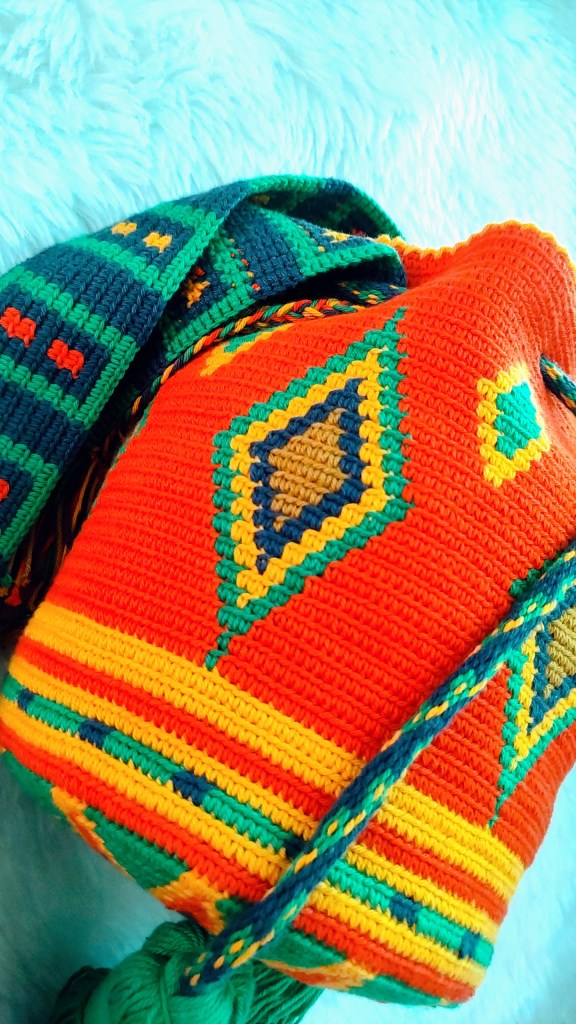
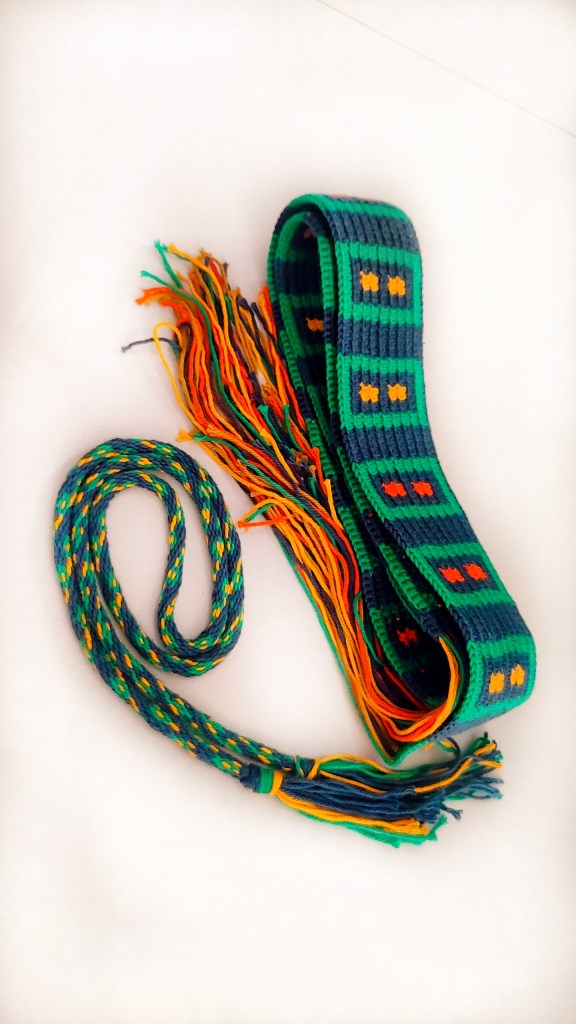
Strap
We will make a crocheted strap for our Mochila.
Sample Strap measures 100cm with 305 foundation chain.
If you want your strap longer than this, make 365 foundation chain.
1) The strap is crocheted lengthwise.
2) We start every row on the same side. i.e. If you are right handed, Start your every row on the
right side. If you are left handed, Start your every row on the left side.
3) Chain the number of stitches. (305,365)
4) It is important to make foundation chain stitches tight.
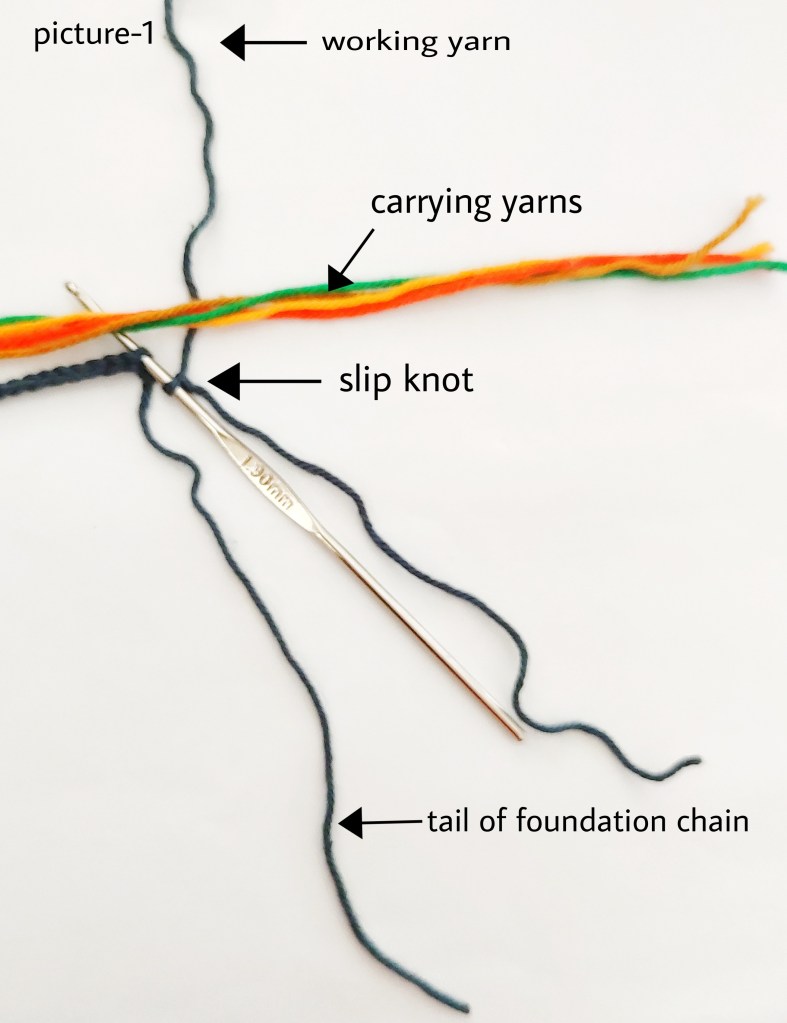
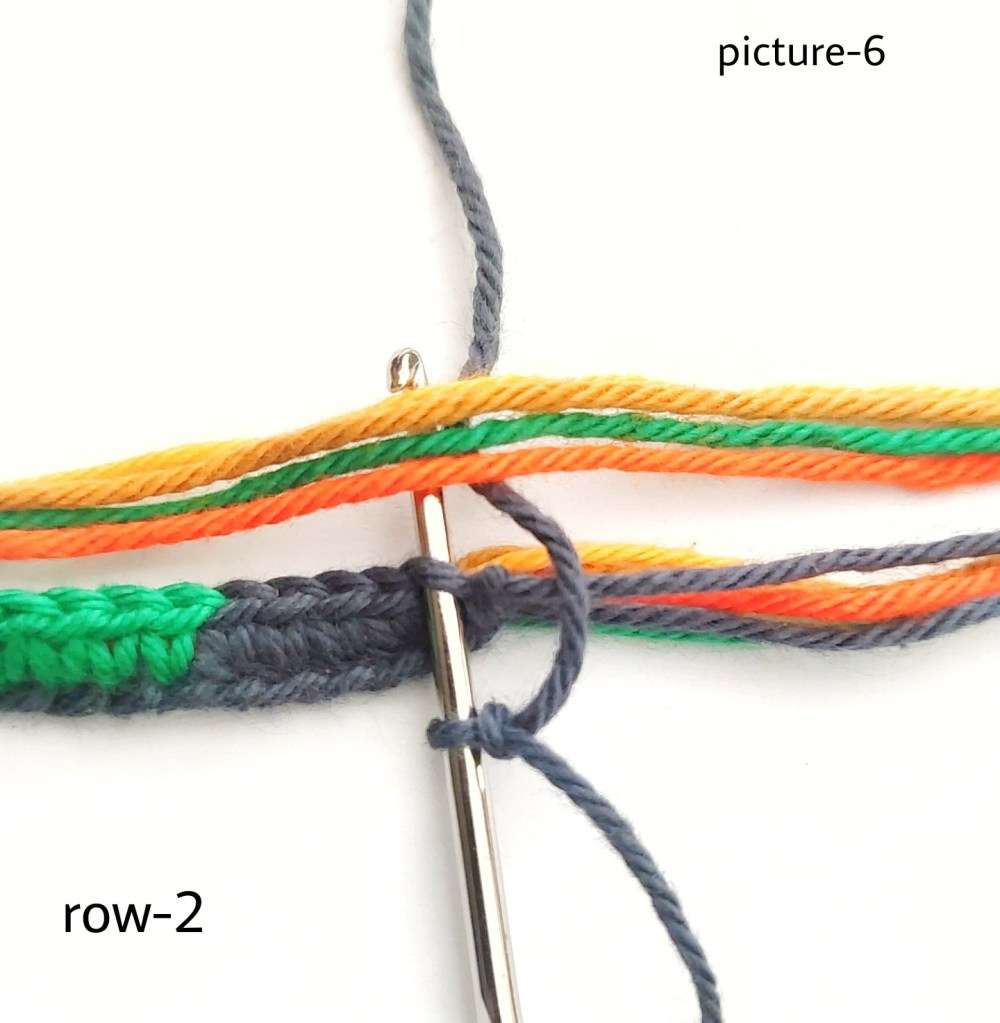
5) Start the row with a new yarn.
6) Make a slip knot.
7) Add all the yarns that we carry, leave them out for about 20-25cm.
8) Start the row.


9) At the end of the row, cut the yarns. Leave them out for about 20-25cm.
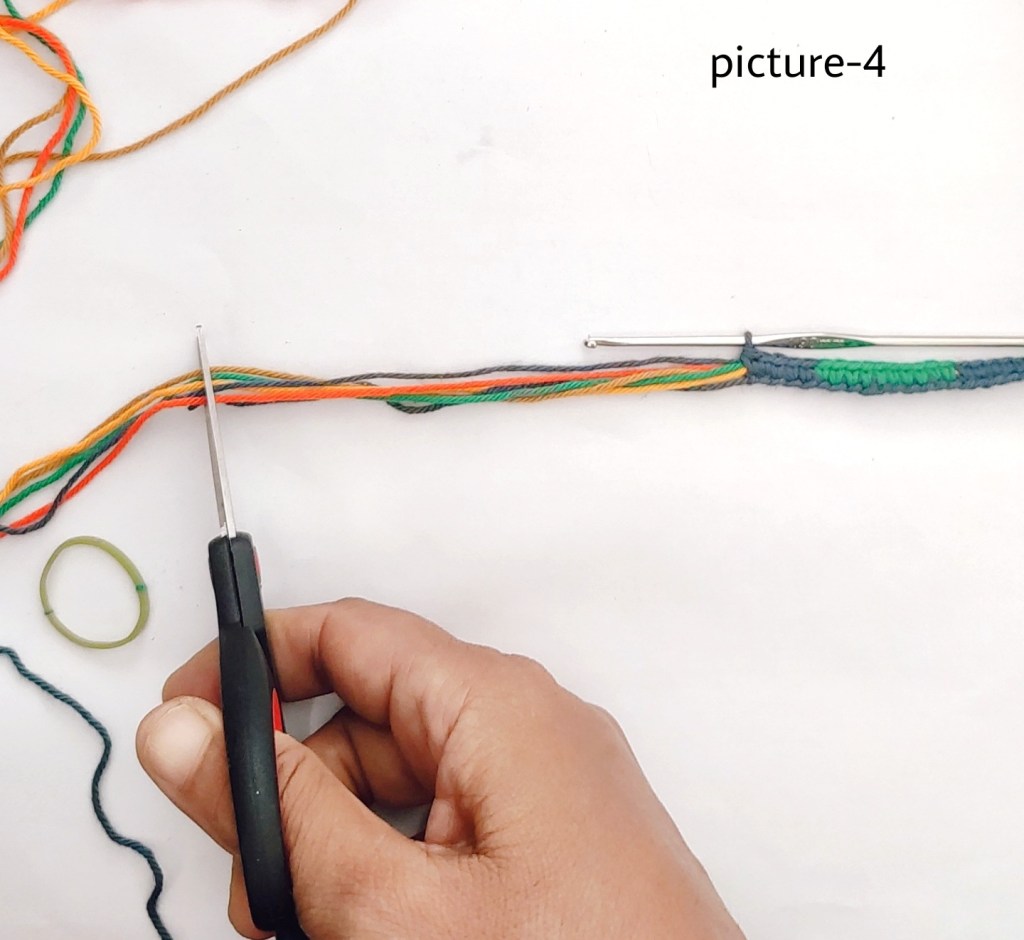
10) We can braid them later or leave them as it is.
And pull out the working yarn.

Start the new row.
Sample Strap measures 100cm with 305 chains and 1.9mm hook.
If you want your strap longer than 100cm, make 365 foundation chain.
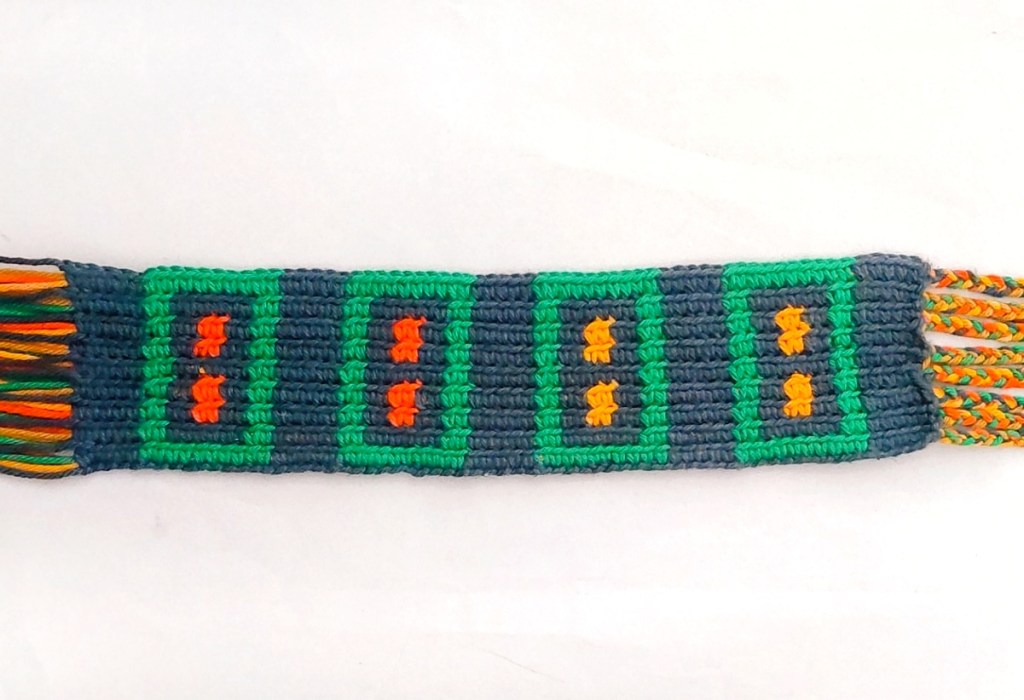
Written Instructions
Start with color D
chain 305 for 100cm long strap
chain 365 for around 119cm strap
(20x), (5x) for 305 chains
(24x), (6x) for 365 chains
Row-1. *5D, 10B* (20x) (24x), 5D
Row-2. * 5D, 2B, 6D, 2B* (20x) (24x), 5D
Row-3. *[ (*5D, 2B, 2D, 2C, 2D, 2B*) (2x), (*5D, 2B, 2D, 2A, 2D, 2B*) (2x) ]* (5x) (6x), 5D
Row-4. Repeat row 3
Row-5. Repeat row 2
Row-6. Repeat row 3
Row-7. Repeat row 4
Row-8. Repeat row 5
Row-9. Repeat row 1
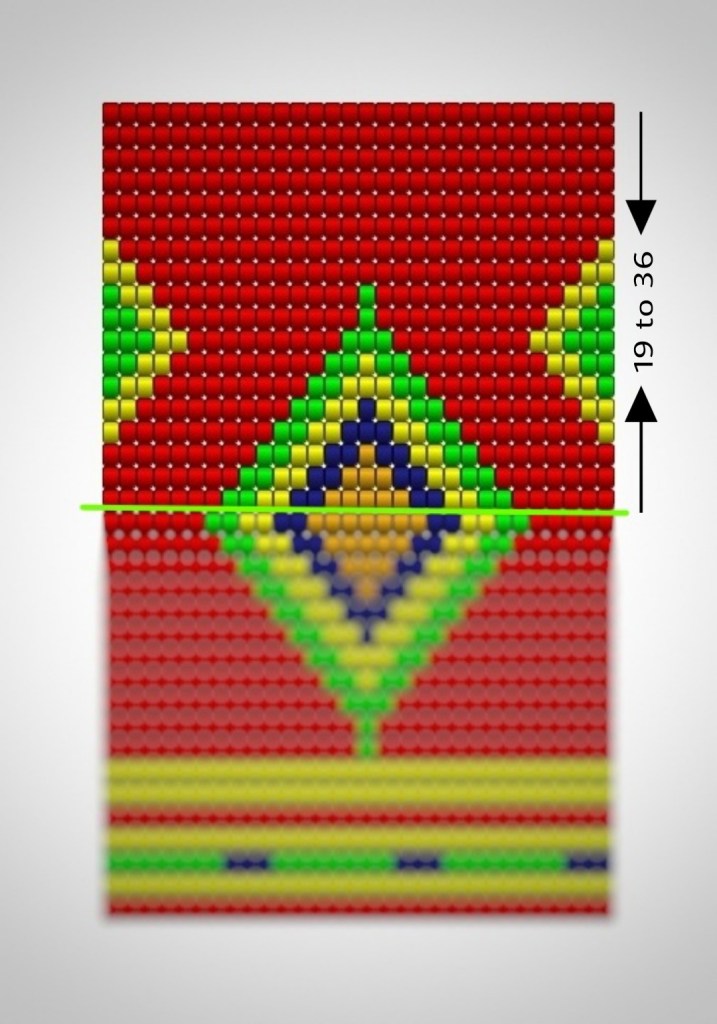
Graph

This is a part of the graph only.
Repeat this part 5 times if you are making your strap with 305 chains and repeat 6 times if you are making your strap with 365 chains.
Attaching the strap
Attach the strap, under the cord, with sewing thread as shown in the picture.

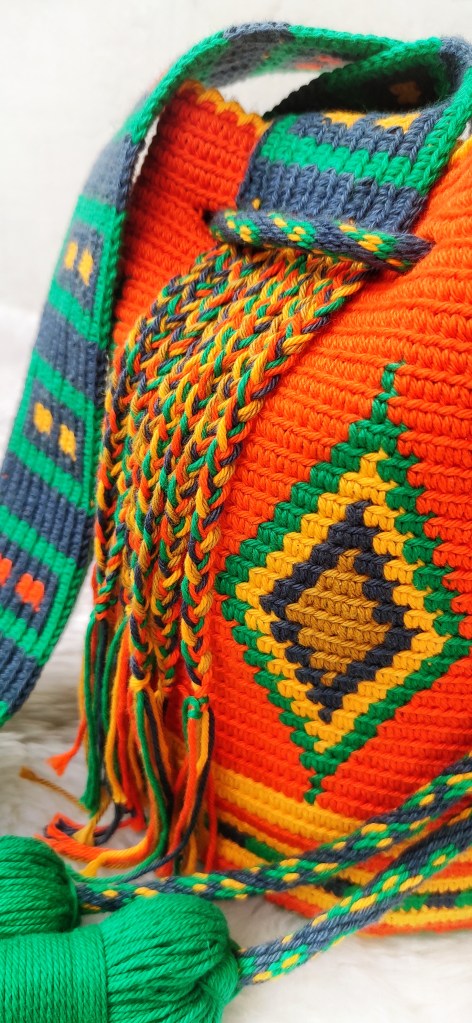
And we are done!!!
You can always get in touch with us by leaving a comment below or dm us on instagram @indiayarn.circle or join us on our facebook group where all the action happens!!
We would love to see your makes!! So dont forget to tag us @indiayarn.circle and our designer @handmadeby_ashita on instagram and facebook and use hashtags #sunburstdiamondcal #indiayarncircle #sunburstdiamondmochilacal #IYCcal
HAPPY CRAFTING!!!