Now that we have seen what tunisian crochet is and how to work it, lets go a step further!!
As you all know, we are running the PAX Shawl as TCAL over at the IndiaYarnCircle for this month, and we thought it would be a great help to break down certian stitches and techniques, and ease your understanding of Tunisian Crochet.
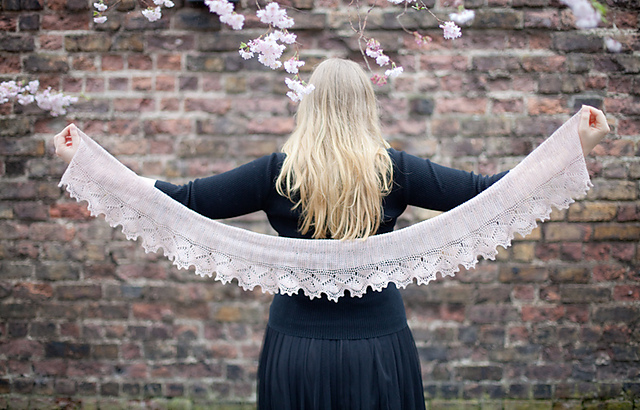
The Pax shawl is beautiful simple tunisian crochet pattern that uses a combination of regualr crochet and tunisian crochet techniques.
Source: @aiohobeni
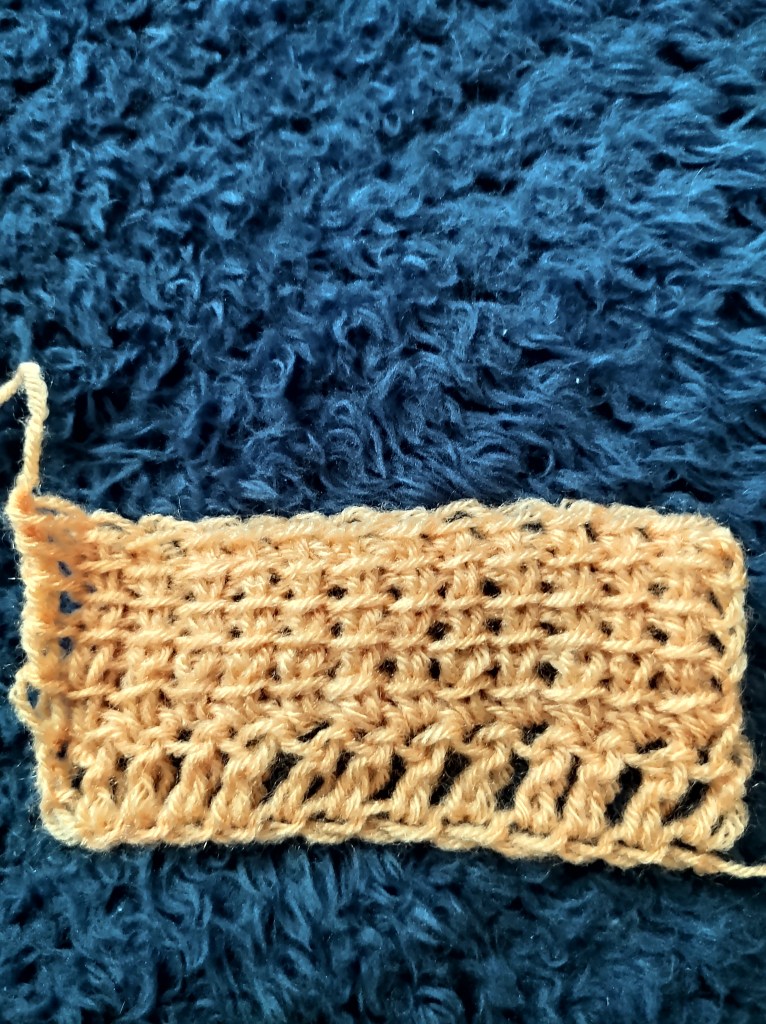
One of the stitches used in the shawl is the Tunisian Linked stitch or the Uple stitch.
The linked stiches can be worked in any numbers as required. These are very simple stitches that are a perfect combination of regular crochet and tunisian crochet.
The linked stitch is basically a vertical stitch worked up to the length n number required and worked down again to link it to the foundation row.
You can build the linked sttiches to make them 1-uple, 2-uple, 3-uple, 4-uple, 5-uple and so on. These numbers are basically the no. of horizontal bars in the one stitch.
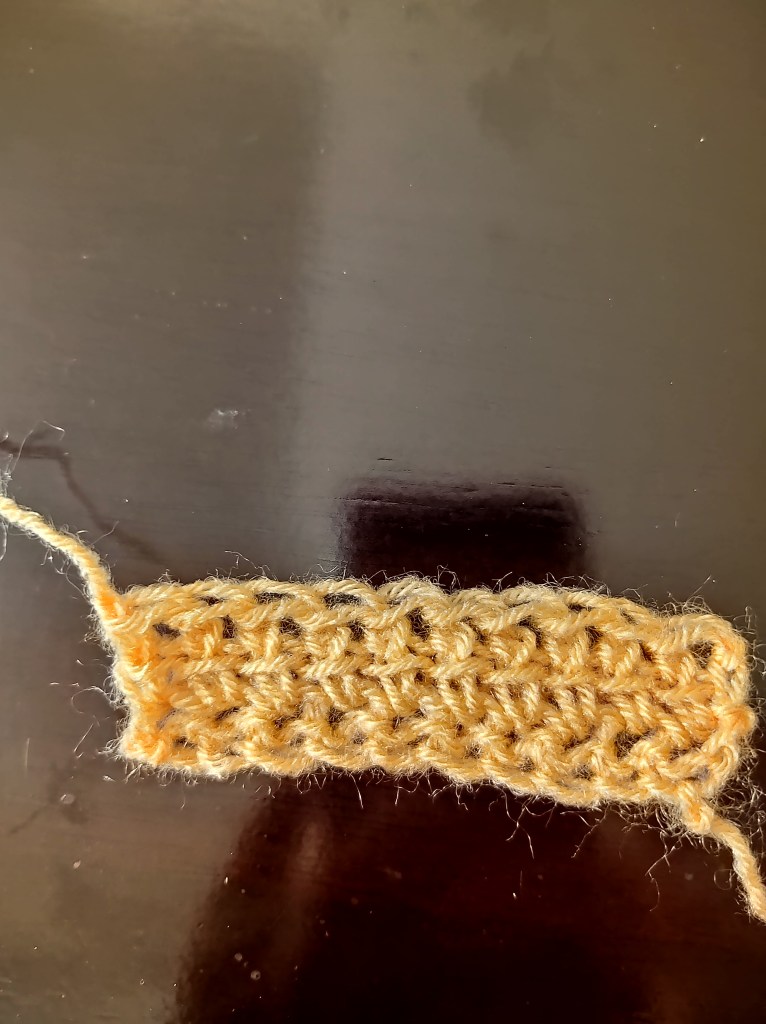
1-uple stitch with one horizontal bar3-uple stitch with 3 horizontal bars
2-uple stitch with two horizontal bars4-uple stitch with 4 horizontal bars
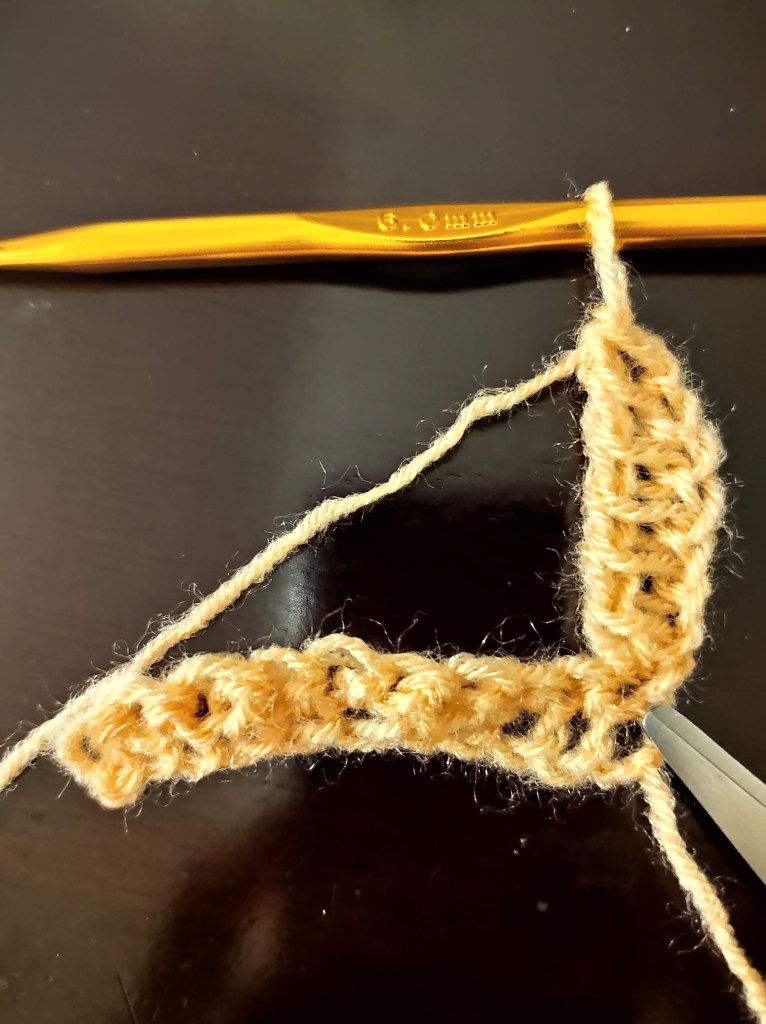
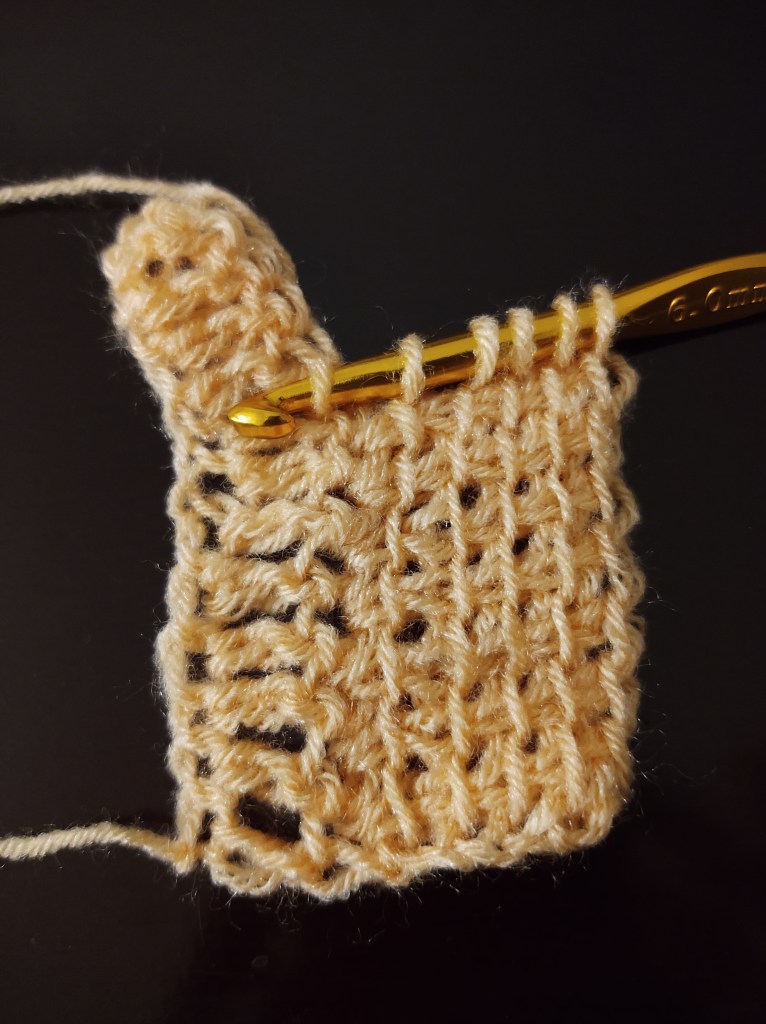
The working of the linked stitches is a little different, since we pull up loops in the horizontal bars and work verticaly to build the height of the stitches. Hence it better to turn work 90 degrees to make it easier.
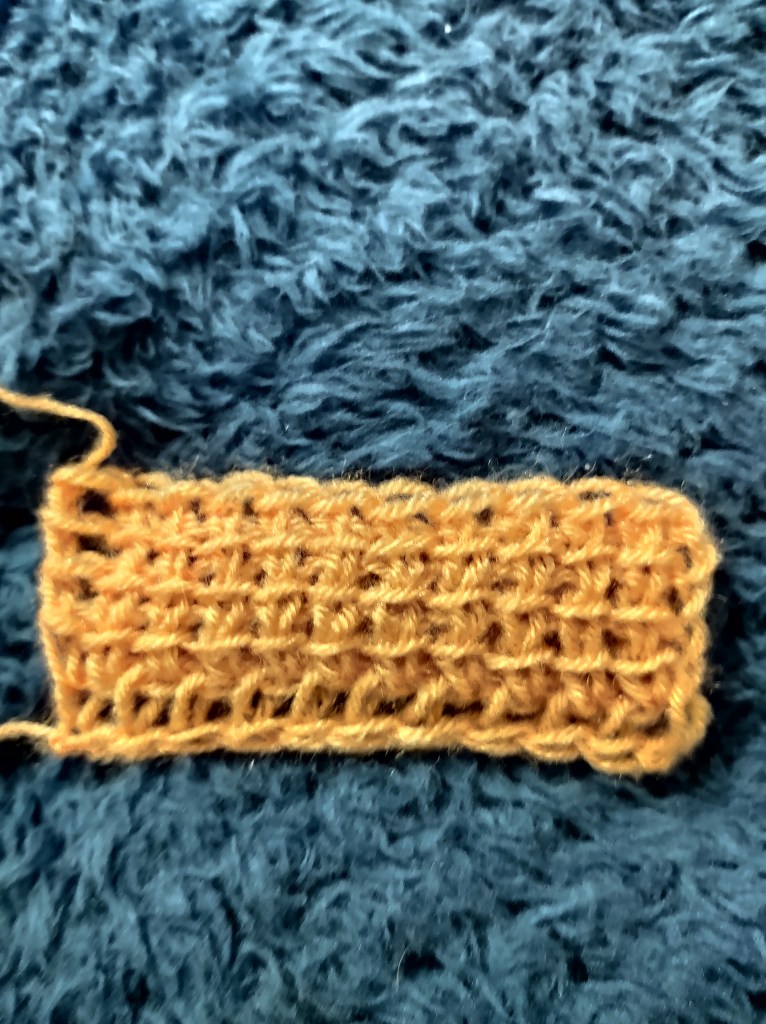
Image showing the vertical length of the 5-uple stitch
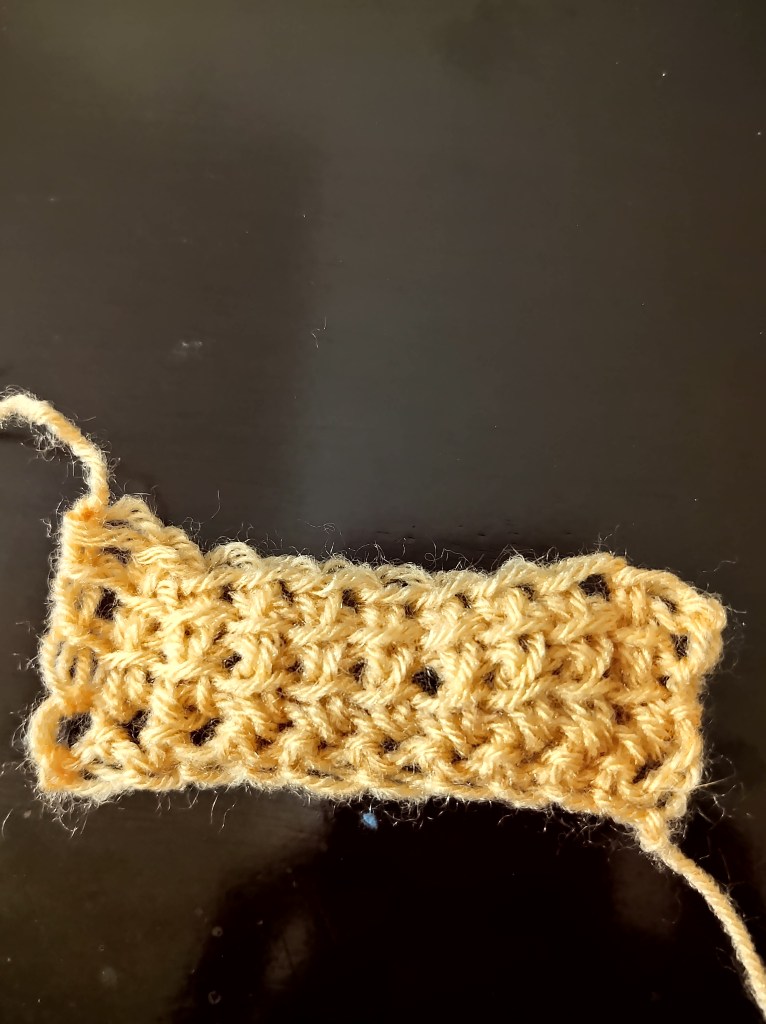
Image with work turned 90 degree for working the horizontal bars
You can find a detailed video tutorial explaining the linked stitches below:
Hope this tutorial is helpful for understanding the tunisian linked stitches!!
Please feel free to leave your queries and comments below!
All images are copyright of IndiaYarnCircle and the respective makers, unless otherwise mentioned. You can read our disclaimer policy here.
Week 3 is here!! And time is surely flying fast!! We are sure all of you are on your start to making beautiful versions of The JuJu Scarf!!
If you have made it this far then pat yourself on the back and a big congratualtions!!! you have made it through the quirks of the pattern and completed 60% of the scarf!!!
Way to go!!!!
so, Last week we saw the start of the scarf pattern, We started with our gauge swatch and foundation Single Crochet. We learnt how to decrease the pattern to create the triangular shape and also learnt how to add beads to the corners of the clusters. So many new fun things to learn!!!
Our Designer Divya Bhat of Stringtierey went live on our facebook group explaining how to reada pattern and also adressing your questions and queries!! You can join our Facebook group and watch these very informative lives and be part of the cal!!
For week 3, we are going to continue on the pattern and start the last part of the decrease. in this week we will learn how to decrease by single clusters on each side and how to finish the last row!! Yes your heard that right, the last row!!
But the work doesnt end here and we learn all about finishing, tassle making and blocking in the last and final week of the CAL!!
Leave us your questions and queries in comments below and join the facebook group to get in on all the details and the giveaway for this week!!!
We are sure you guys have all got your materials by now and are all super excited to begin!!
Week 2 is the actual start of the CAL and the pattern will be shared to everyone who has registered for the cal, via email. Once you get the email, download your pattern and you are all good to go!!
Week 2 is all about taking it slow, reading all the instructions, and going step by step as per the pattern. Our Designer Divya Bhat will be availble on our facebook group to answer all the questions and queries’ . She will also be going Live on the IndiaYarnCircle Facebook group to answer all your queries and address your issues. So do look out for that!!!!
The cal is happening on the IndiaYarnCircle Facebook group. So do Join the group below.
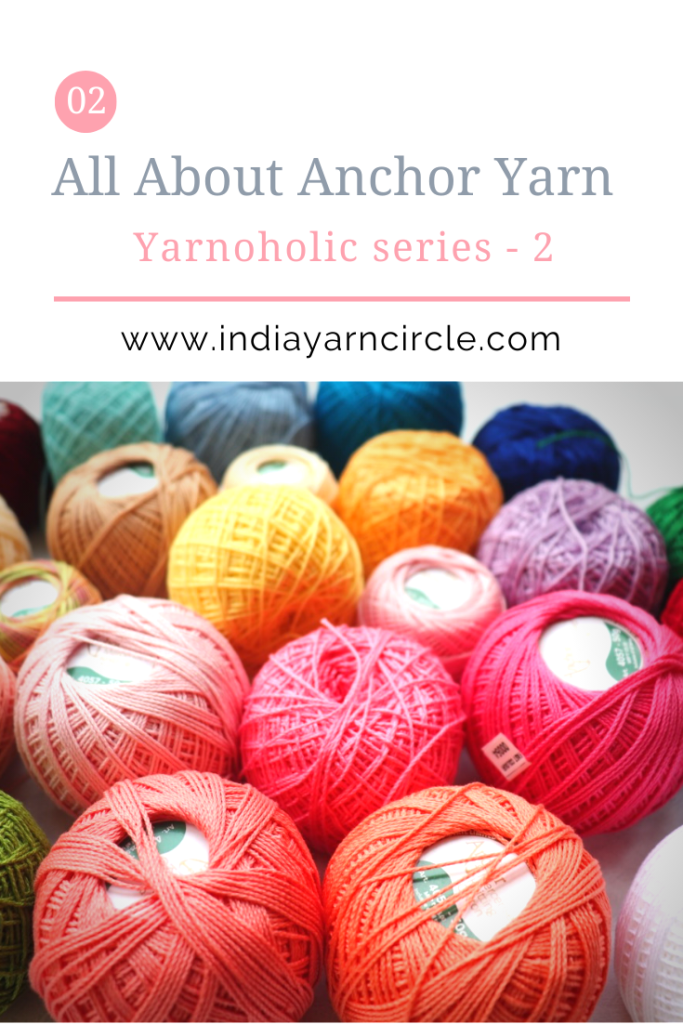
Anyone who wants to indulge in yarncrafts would go to a kangan store or shop next door and pick up Anchor yarns and this is the impression Anchor has left in our minds. While Anchor leaves us with these distinct memories, they have been a go to brand for many of our yarn crafts ranging from embroidery, crochet, knitting , tatting, string art and many more forms of yarn crafts.
In this blog post we are going into a little detail about the yarns from Anchor.
YOU CAN ALSO WATCH OUR VIDEO EXPLAINING THE DIFFERENT ANCHOR YARNS
1. Anchor Stranded Cotton Skeins – Art4625
A spectrum that would compare a rainbow, Anchor stranded cotton skein is the most well-known premium hand embroidery thread all over the world. A superior 6-strand thread, made from the best Egyptian cotton is ideal for all forms of embroidery. Available in single and multicolor.
Ideal for – all types of hand embroidery – Free style & Counted thread embroidery
Key features –
Imported Egyptian cotton fiber
Long staple cotton – superior strength
Double Mercerized – Superior luster & strength
Extensive shade range
Packaging – 25, 8meter skeins to a box
2. Anchor Mercer Crochet Cotton – Art4054
Anchor Mercer Crochet cotton is available in two thicknesses – Ticket 20 & Ticket 40 (ticket 20 is thicker than ticket 40). Being mercerized, these threads are a little stiff and can be used very strikingly to give a lacy feel.
Ideal for – all types of Lace crafts like Crochet, Tatting, Knitting and Hairpin lace.
Key features –
Imported Egyptian cotton fiber
Long staple cotton – superior strength
Double Mercerized – Superior luster & strength
Packaging – 10, 20gram balls to a box
3. Anchor Mercer Pearl Cotton – Art4591
Anchor Mercer Pearl cotton, is a versatile soft thread with a pearly sheen on it. This gives your work an extra glossy effect.
Ideal for – all types of hand embroidery – Free style & Counted thread, and Lace crafts like Crochet & Knitting.
Key features –
Imported Egyptian cotton fiber
Long staple cotton – superior strength
Double Mercerized – Superior luster & strength
Packaging – 10, 10gram balls to a box
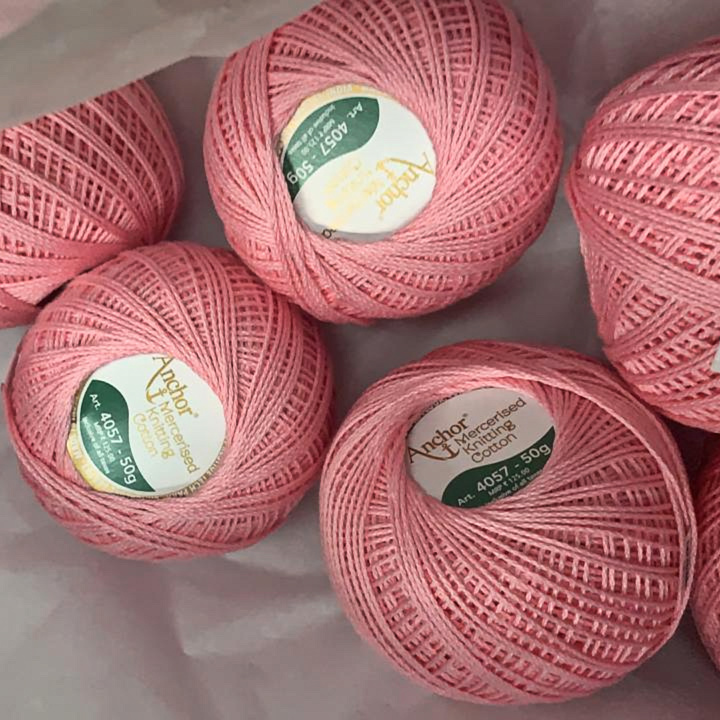
4. Anchor Mercer Knitting Cotton – Art4057
Anchor Mercer Knitting cotton, as the name implies is used for knitting, as well as Crochet and chunky Tatting. It is also used embroidery and soft toy making. Available in single and multicolor.
Ideal for – all types of Lace crafts like Knitting & Crochet. Also used for different kinds of hand embroidery – Free style & Counted thread
Key features –
Imported Egyptian cotton fiber
Long staple cotton – superior strength
Double Mercerized – Superior luster & strength
Packaging – 10, 50gram balls to a box
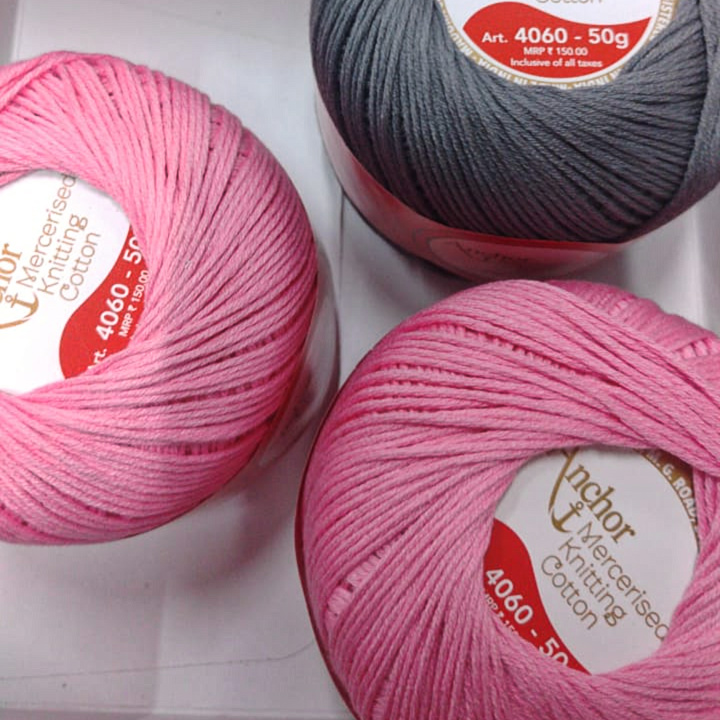
5. Anchor Mercer Knitting Cotton – Art4060
This is a versatile thread that is soft and lustrous. It is strong and flexible and used for Home furnishings apart from embroidery and lace crafts.
Ideal for – all types of Lace crafts like Knitting, Crochet & Macramé. Also used for different kinds of hand embroidery – Free style & Counted thread
Key features –
Imported Egyptian cotton fiber
Long staple cotton – superior strength
Double Mercerized – Superior luster & strength
Packaging – 4, 50gram balls to a box
WHERE TO BUY –
Instore –
Options are umpteen , look around any craft supply stores and you are most definite to be offered anchor yarns
Don’t forget to ask for shade cards to pick the right colors for your project !
We hope that we were able to help you with deciding the right Anchor Yarn for your projects. Leave us a comment or note if you like to know more about Anchor Yarns.
All images are copyright of IndiaYarnCircle, unless otherwise mentioned. You can read our disclaimer policy here.
I am joining a CAL, I saw someone post about KAL on Insta and it got us thinking – does everyone know about what a CAL is? Its often taken for granted that crafters know what it means, however we understood not many understand the same and nuances. In the past few days of going live we have had many ask us are you hosting a CAL and some asking what is a CAL and we believe it’s best to come together on even grounds as we embark on this journey of pursuing various yarn crafts.
What is a CAL?, What is a TCAL? What is a KAL? What is a SAL? What is a MAL? So many acronyms and very little information on what these stand for.
and there are more versions of this for various forms or arts and crafts.
Now that we know the acronym, lets get into details
Before that, do watch our video explaining all things cal for better understanding.
What do people do?
A group of people coming together to work on a project at the same time and pace with an objective of learning new technique , work on a new pattern, clarify doubts , share experiences, learn from each other and commit to finish along the group. This is team is often led by a designer of the pattern or a group can decide on a pattern / theme that be pursued together. In our experience joining a team often leads to connecting with people / community who have similar interests and leads to strengthening the passion to pursue yarn crafts even after the project
Who can Join?
A person with some experience of yarn craft can join the project. Some are targeted towards advanced designs and some for everyone can participate, no matter their skill level. It’s a good practice to always check the skill level that is required for the project before joining
How does it work?
The host or a group decides the pattern or a theme which will be made available to the participants on registration either by way of sharing a full pattern or partial based on progress, sometimes free.
The group can leverage various platforms to connect share and interact – e.g. either by way of closed groups on facebook, a blog platforms, instagram chats or whatsapp groups
Material list like recommended yarn, yarn weight, hooks, needles et, al are published, choice of color scheme is completely up to the designer unless and until specified.
Official start date and end dates are published for the participants to start and finish the project – usually enough time is provided considering that this would be a learning phase for many
Progress update – the host may seek for progress pictures, as a good practice no matter where you’re at, so be sure to share, receiveing constructive feedback always helps in improving!
Do’s and Don’ts in a CAL
Do’s
Try to use the recommended yarn weight and hook size
Follow the guidelines well enough to get the project right
If you finished your work early post the progress so others in the group can learn
When in doubt – participate, engage and interact with members to learn and refine
Do share your feedback on the CAL and finished products on your social media platforms to encourage the community
Don’ts
Don’t be in a rush to finish the project – stick to the schedule, CAL’s often work on a schedule
Don’t modify the pattern , Finish the project as per design of the CAL – Making your own versions can offend the designer
Avoid using offensive language or negative comments on others work
Stick to the schedule and don’t prompt the designer to share beyond schedule
Let the designer handle technical queries and concern
Don’t circulate the pattern freely unless its free for all. Remember designers put in a lot of effort to get one pattern out. As a community its our responsibility to protect interest of our designers
Finally – don’t forget to show of your finished work! Some modelled pictures will always be a huge encouragement for the designers to engage again and again!
Leave us your questions in the comment and we will respond soon.