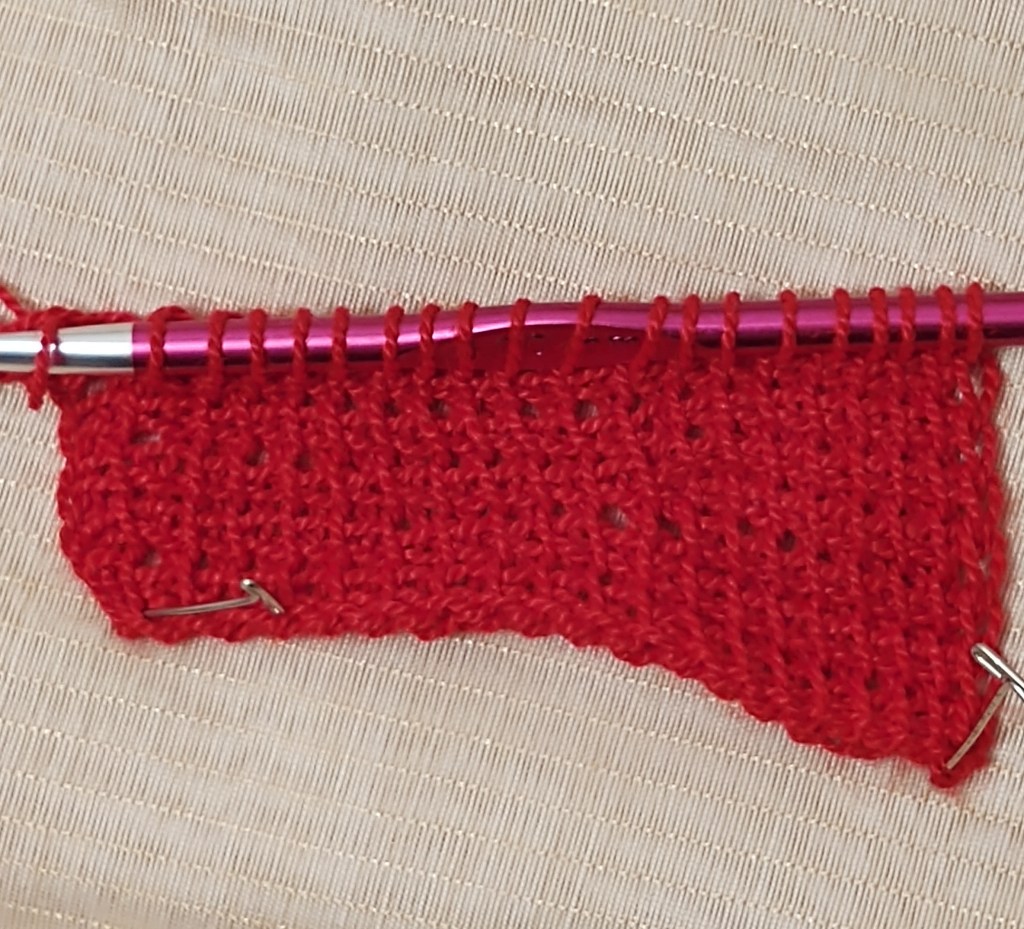
Let’s get started with basics.. knitting involves casting on stitches onto the knitting needles, knit and purl stitches and binding off to end the work.
Check out these tutorials to learn basic knitting.

Making Yarn Connections

Let’s get started with basics.. knitting involves casting on stitches onto the knitting needles, knit and purl stitches and binding off to end the work.
Check out these tutorials to learn basic knitting.

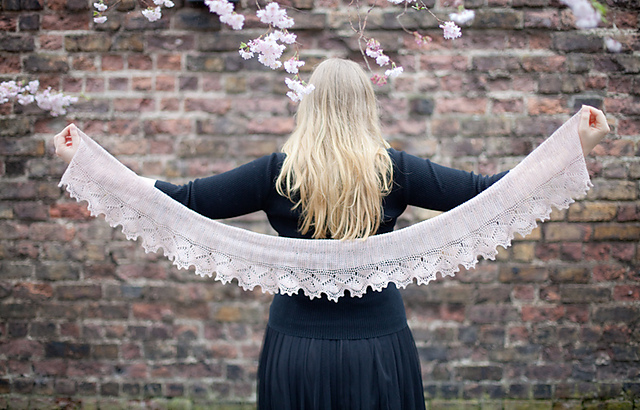
Hello Everyone! The Pax Shawl TCAL is under way and we have seen some good progress!
However, we had a lot of queries with regards to the chart A and how to begin. So here we are as promised to help you guys out with the detailed instructions for the chart A with a photo turorial and a video tutorial!
We got permission from the Designer of the PAX Shawl @Aoibheni to provide a step by step video tutorial for the TCAL!!!
New here and Still wondering what is the all this??
You can check what is a TCAL HERE.
You can check all the details about the Pax shawl TCAL, HERE.
Follow the instructions for PAX SHAWL:

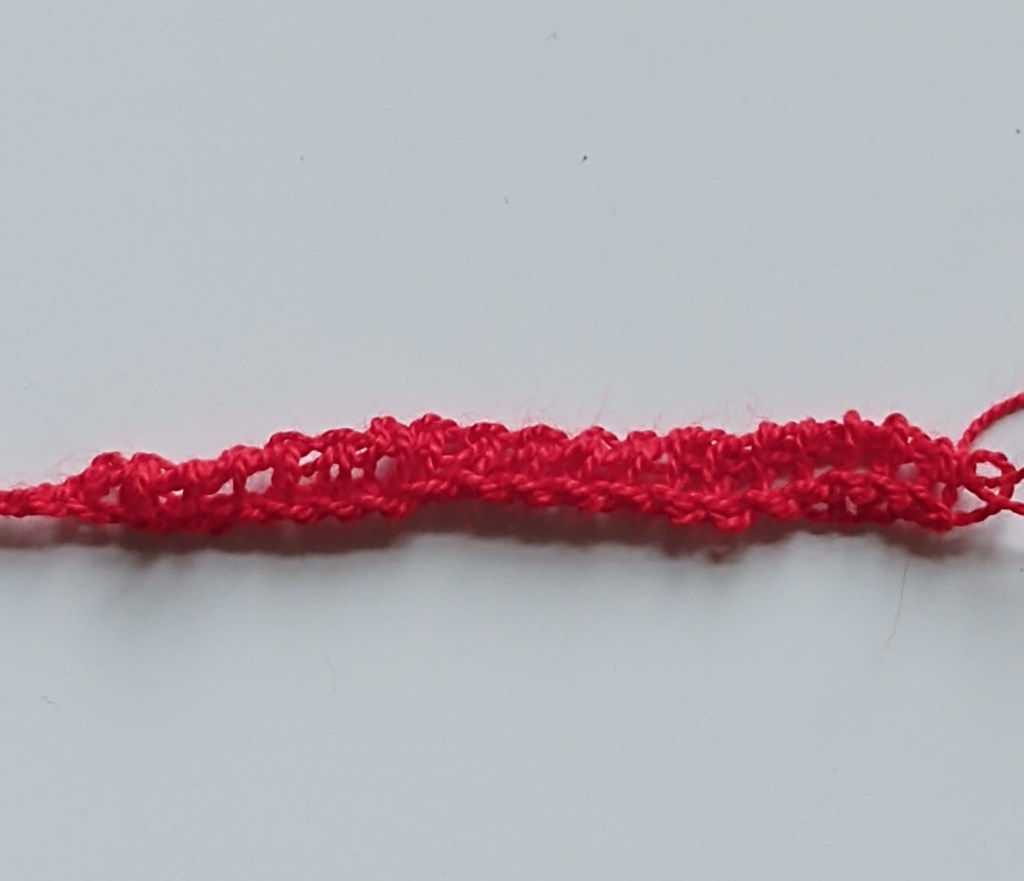


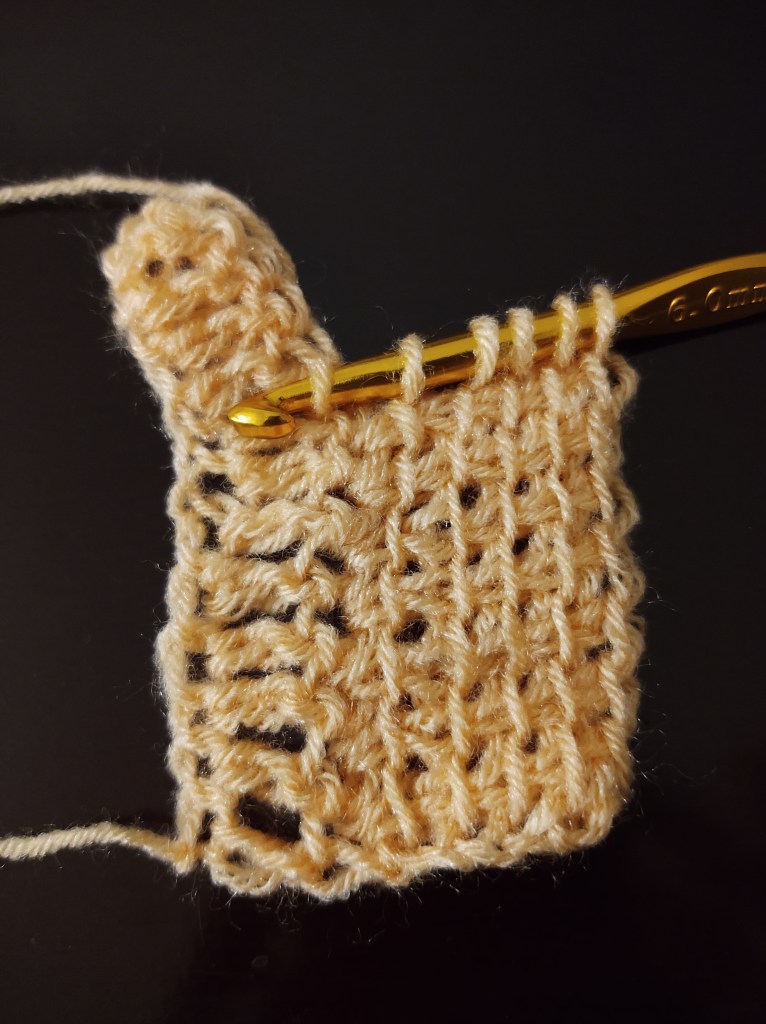
This is one repeat
Now again start working on other vertical bars.
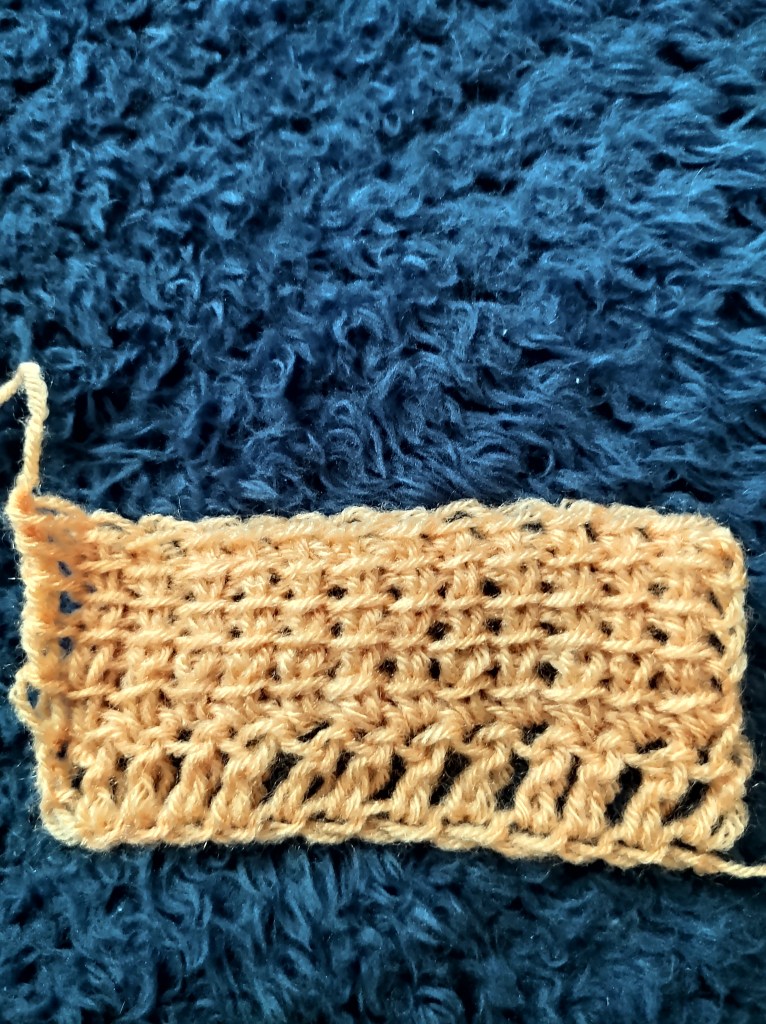
Only the full rows connect to base chain. Count the number of rows on the right side . You should have seven for each repeat.
Continue all the way till you reach the end of the base chain
This is chart A…
You can watch the video tutorial for further understanding.
Please feel free to leave your queries and comments below!

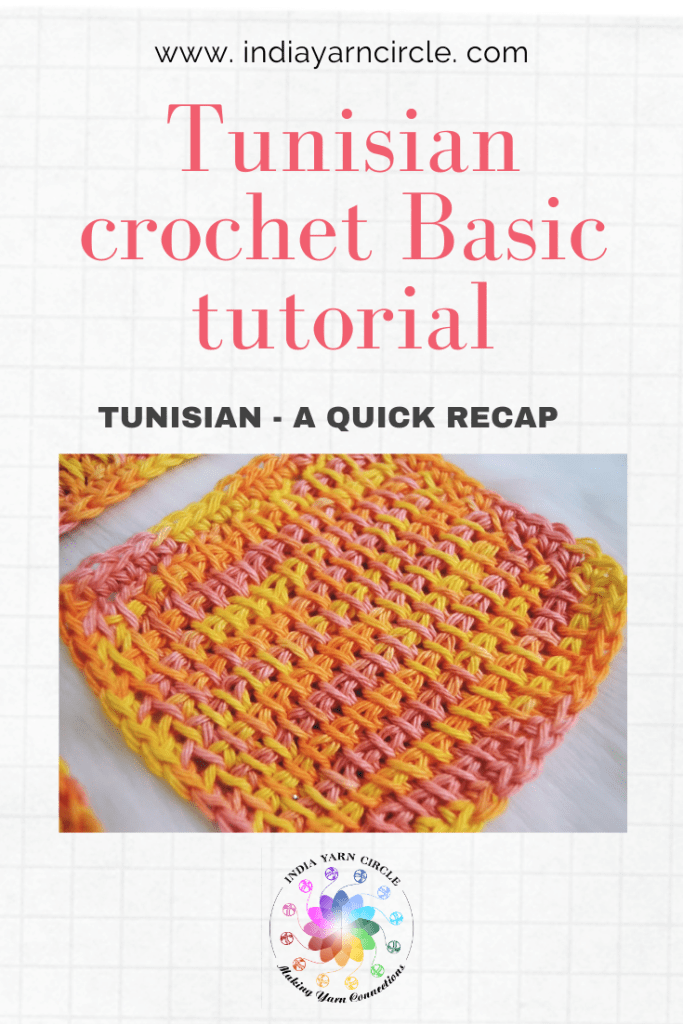
Now that we have seen what tunisian crochet is and how to work it, lets go a step further!!
As you all know, we are running the PAX Shawl as TCAL over at the IndiaYarnCircle for this month, and we thought it would be a great help to break down certian stitches and techniques, and ease your understanding of Tunisian Crochet.

The Pax shawl is beautiful simple tunisian crochet pattern that uses a combination of regualr crochet and tunisian crochet techniques.
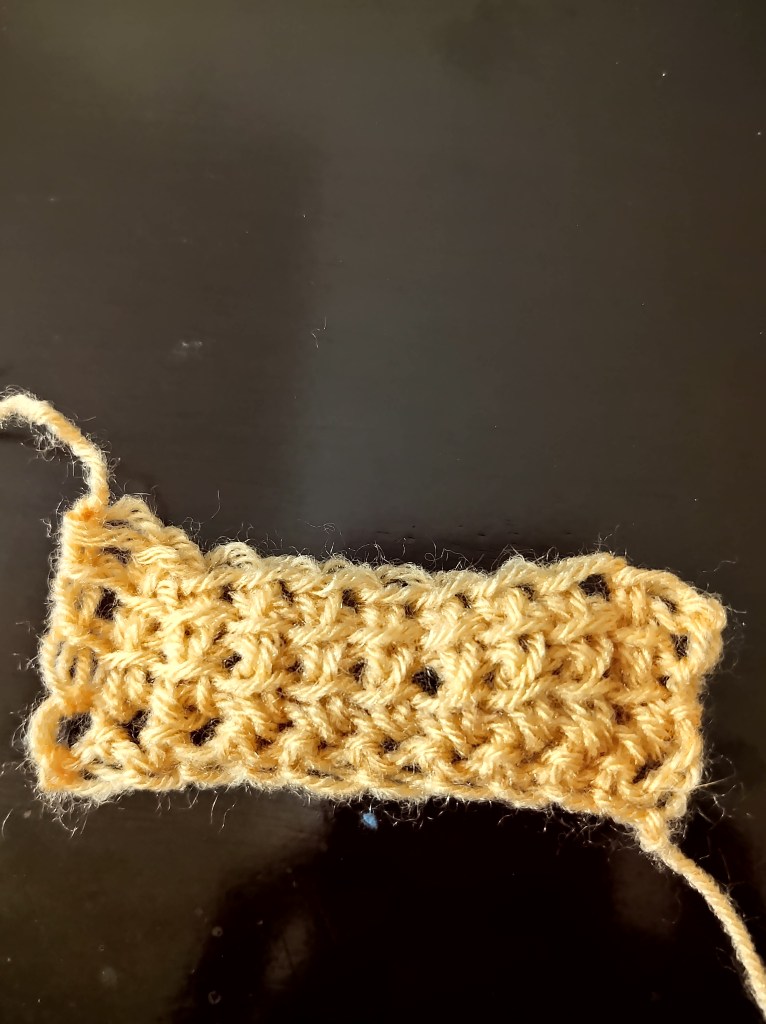
One of the stitches used in the shawl is the Tunisian Linked stitch or the Uple stitch.
The linked stiches can be worked in any numbers as required. These are very simple stitches that are a perfect combination of regular crochet and tunisian crochet.
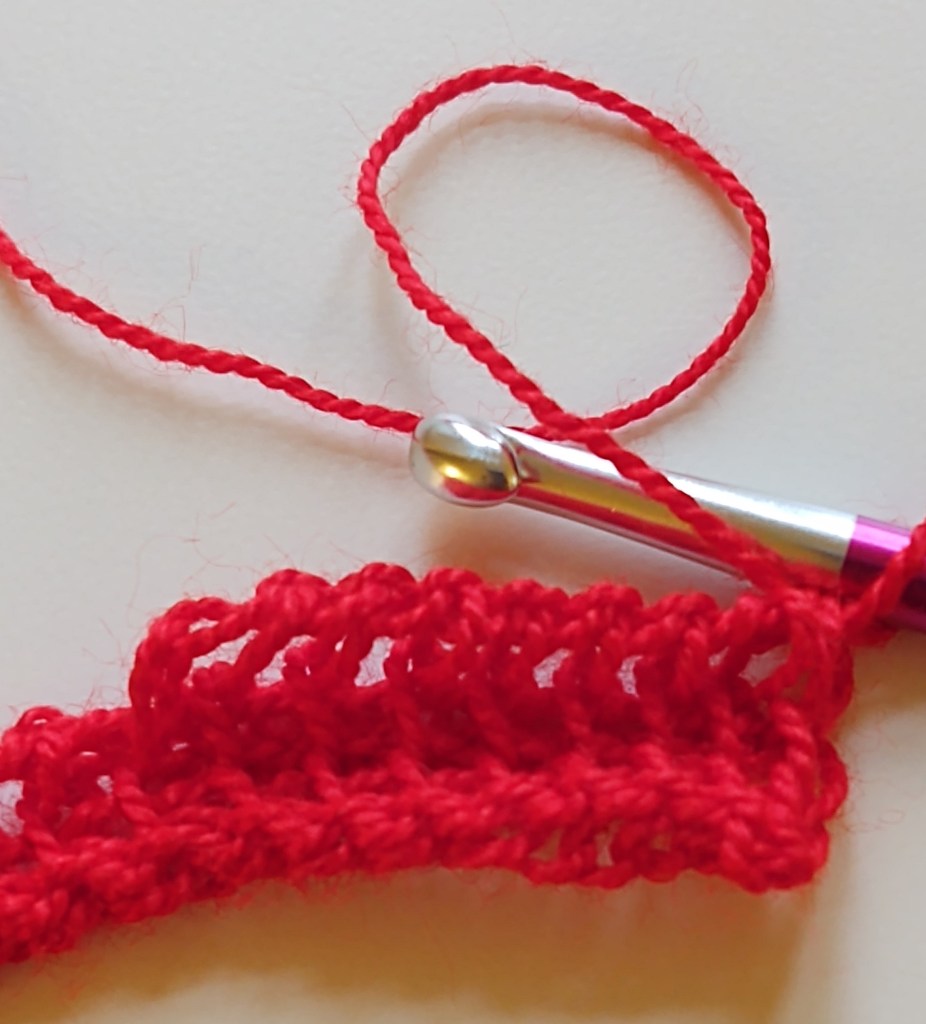
The linked stitch is basically a vertical stitch worked up to the length n number required and worked down again to link it to the foundation row.
You can build the linked sttiches to make them 1-uple, 2-uple, 3-uple, 4-uple, 5-uple and so on. These numbers are basically the no. of horizontal bars in the one stitch.
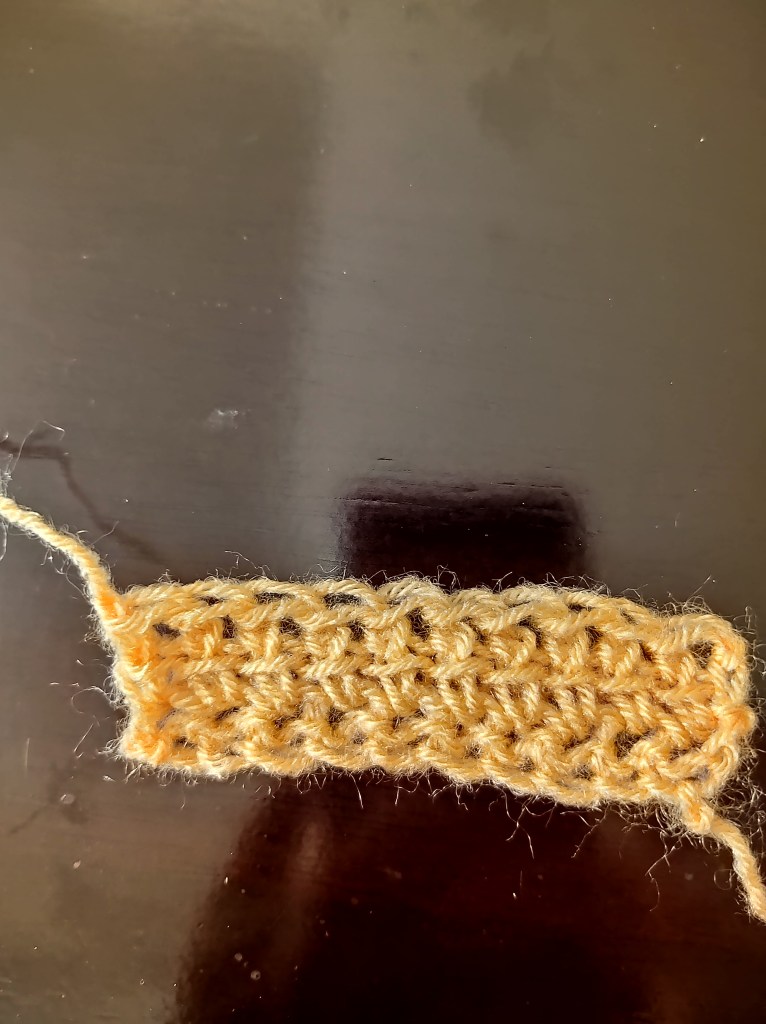
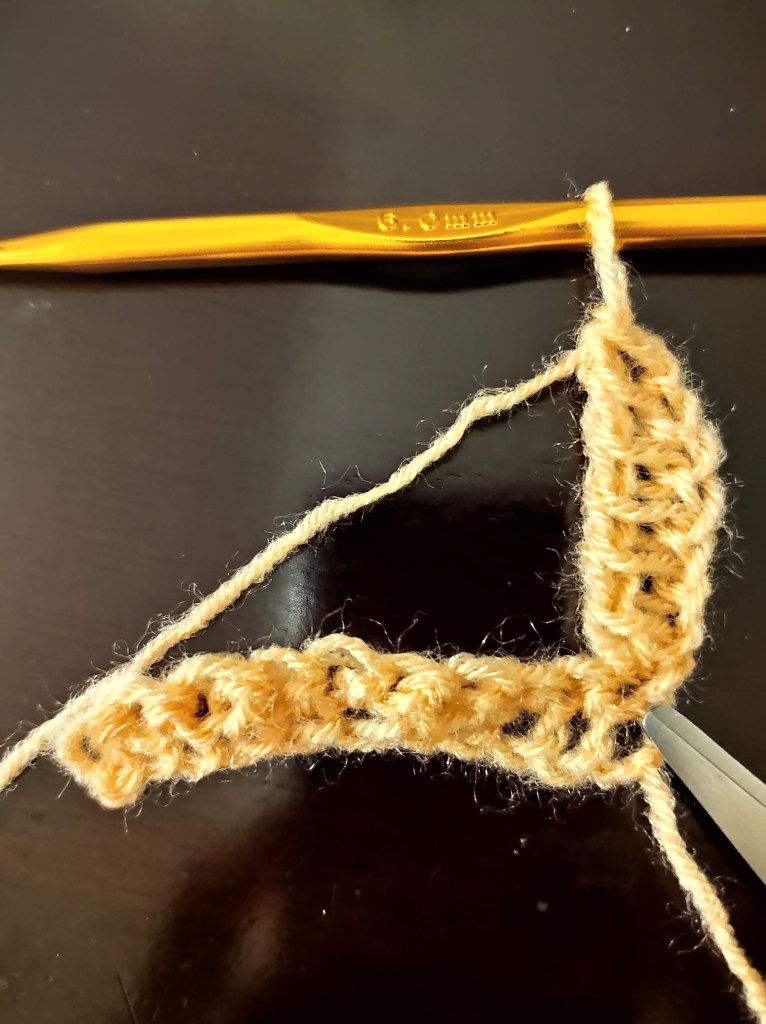
The working of the linked stitches is a little different, since we pull up loops in the horizontal bars and work verticaly to build the height of the stitches. Hence it better to turn work 90 degrees to make it easier.
Hope this tutorial is helpful for understanding the tunisian linked stitches!!
Please feel free to leave your queries and comments below!

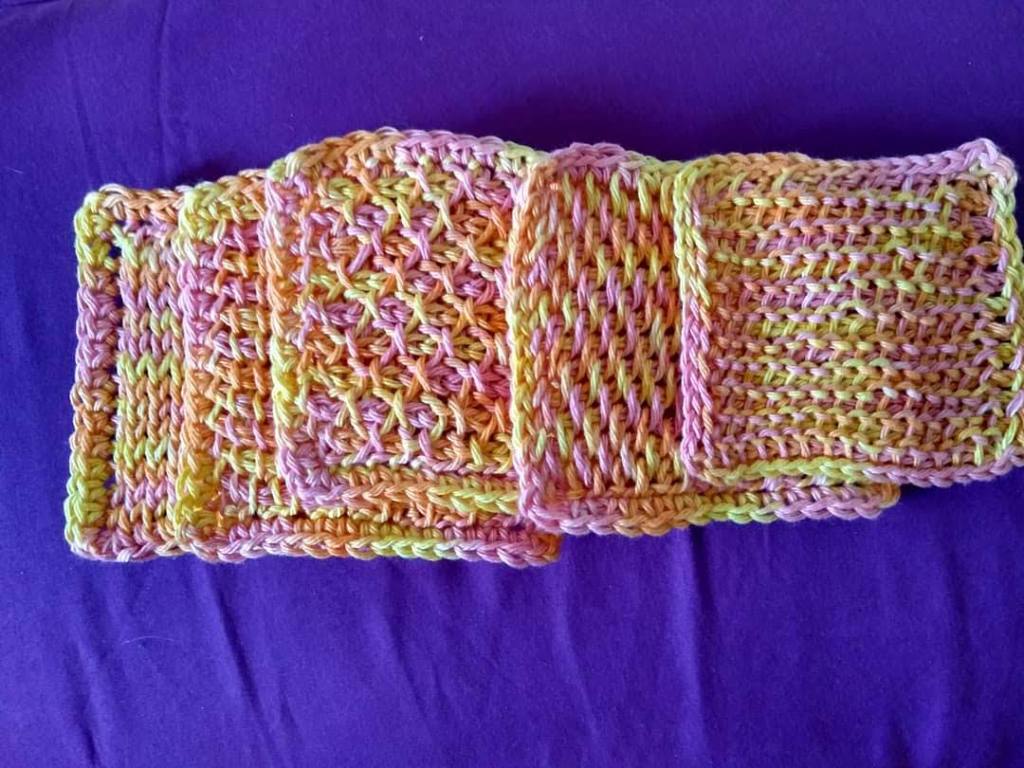
What is Tunisian Crochet? Is it knitting? Is it crochet? Is it related to Tunisia? Well a little bit of the first two and there is no evidence of the connection with Tunisia. It used to be referred to as Shepherd’s knitting, Fool’s crochet or Idiot’s stitch. However, there is no evidence on why these three references came up.
So, what is Tunisian crochet? It’s a form of crochet where one starts like any other regular crochet work, with a starting chain. The next step resembles knitting where one picks up loops and places them on the hook. The similarity to knitting ends here😊. The final step to complete the stitch is to yarn over and pull through two loops at a time till you reach the start. There you have it, in a nutshell, Tunisian crochet.
It is always worked on the right side and yes there are techniques to work it in the round. More on that later.
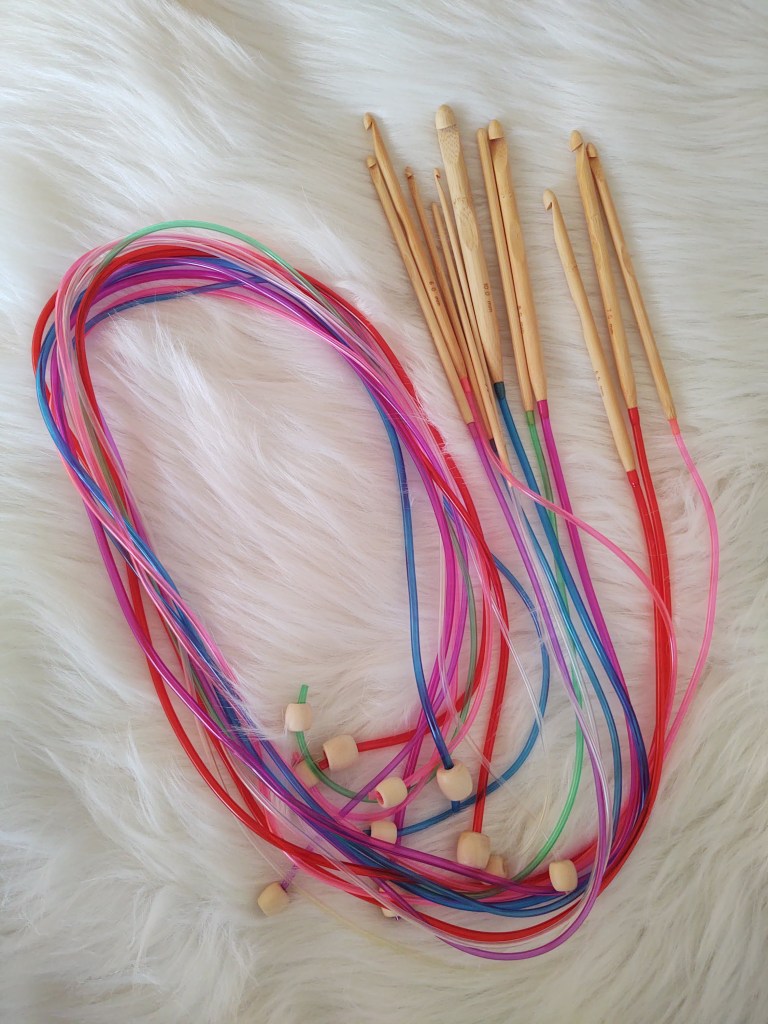
Does Tunisian Crochet need special hooks?
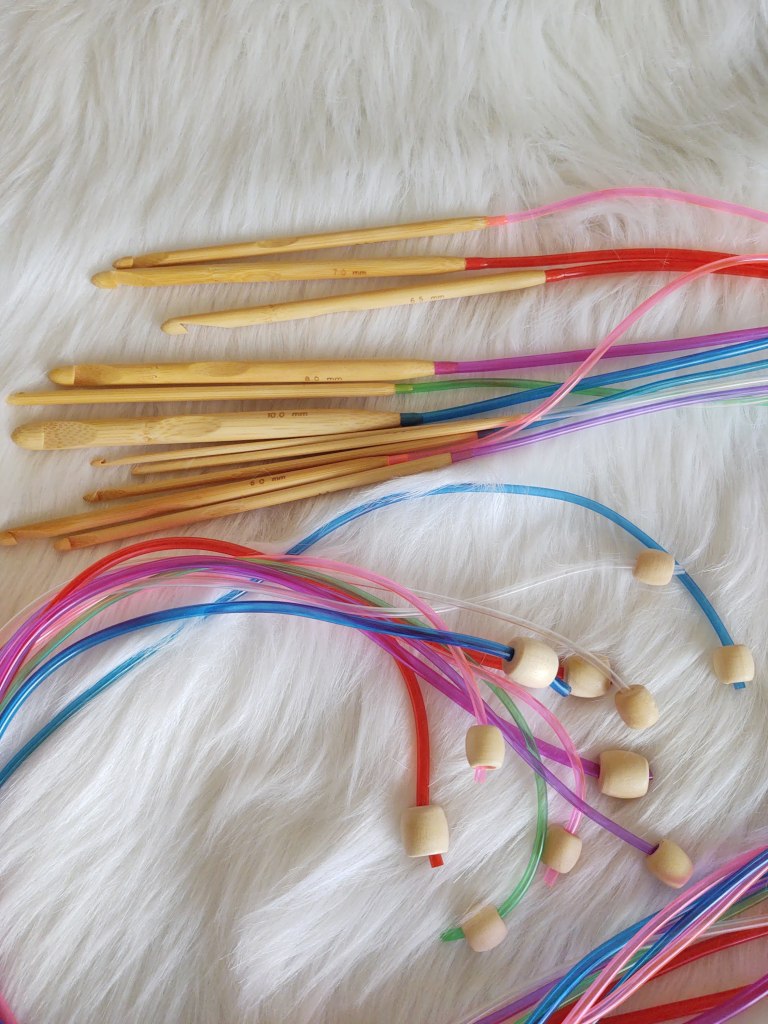
One can use the regular crochet hook for Tunisian crochet provided the stitches required for the project are more than 20 and if they are not ergonomic hooks. As the stitches need to be placed on the hook an even hook with minimal or no thumb rest will work the best. There are plain crochet hooks available in different lengths without the thumb rest and a stopper at the end. This stopper is to prevent the stitches from falling off the hook. Then there are Tunisian hooks with cables attached at the end to help one have 100+ stitches on it. The type of hook needed will be dictated by the number of stitches that one needs to hold on the hook.
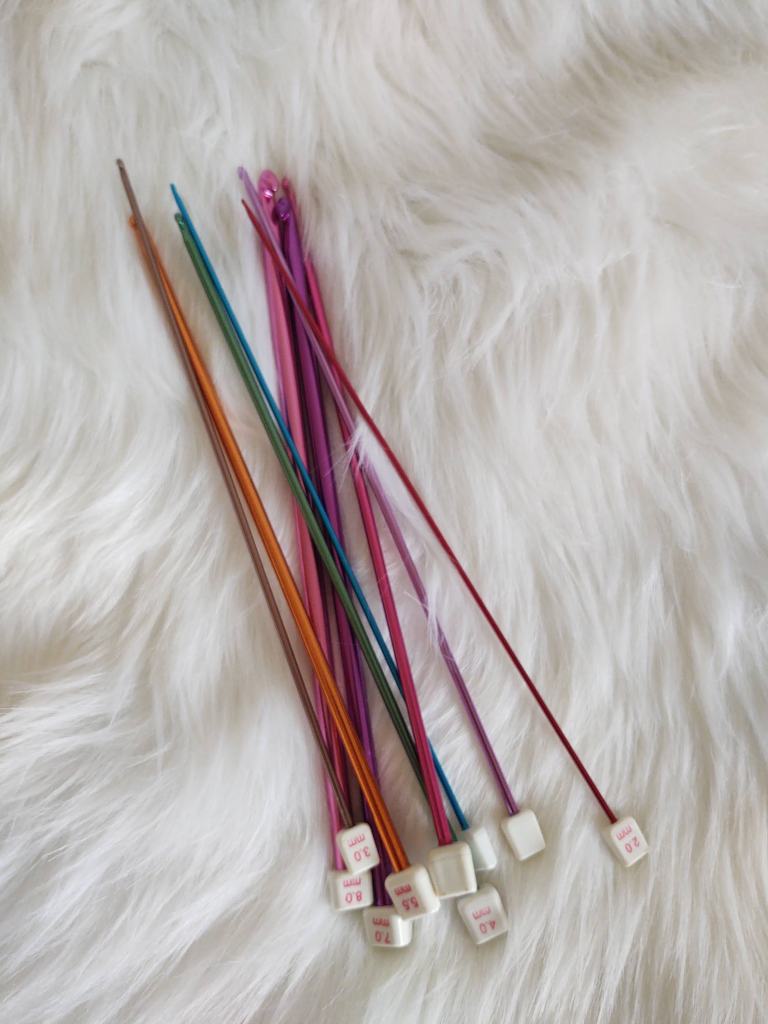
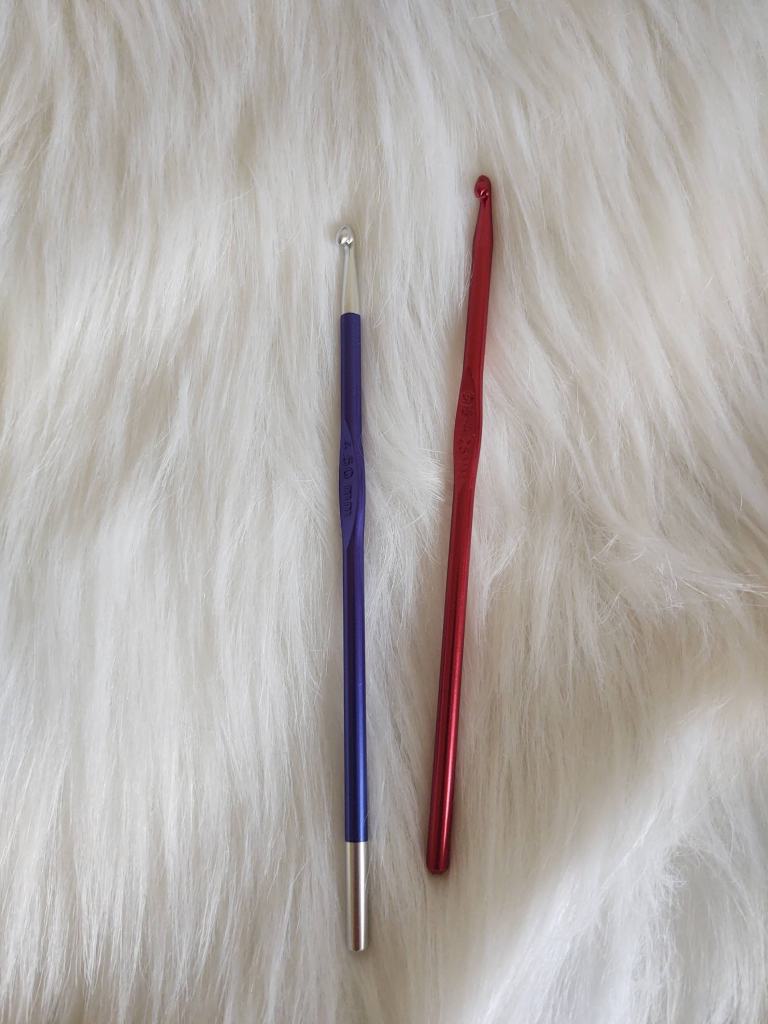
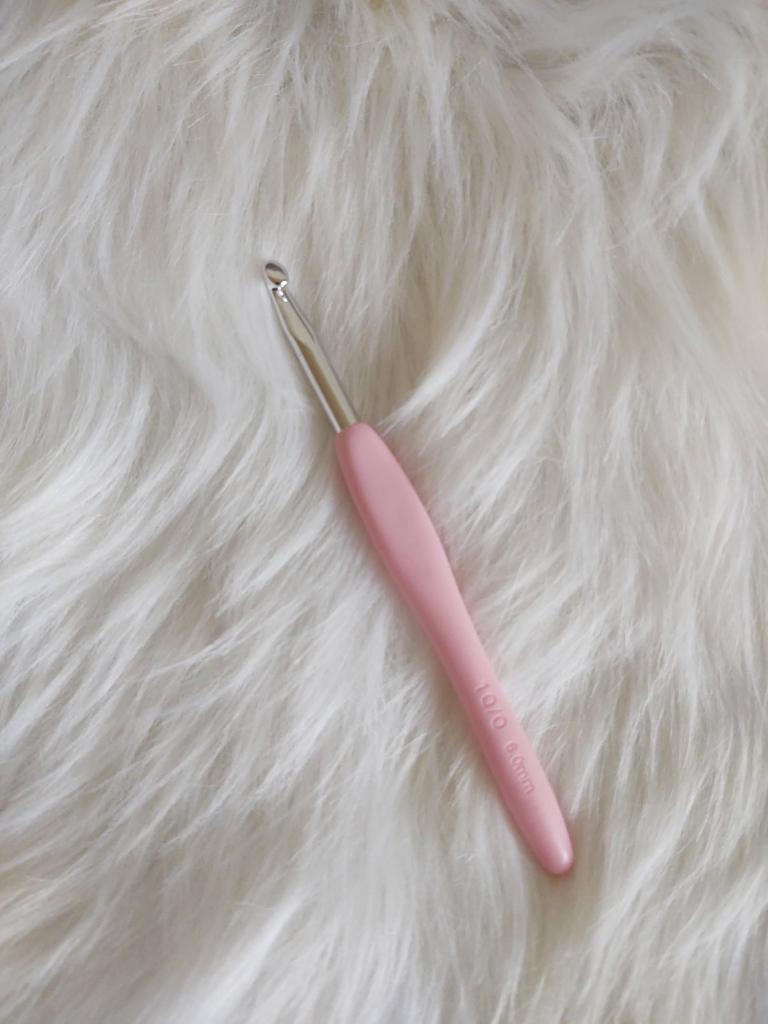
What you will not be able to use are these:
Does Tunisian crochet use up more yarn?
In the 1970’s when Tunisian crochet made an entrance in the US crochet scene, it was primarily used to create dense blankets made with a tight gauge that gave a square mesh on which one worked cross-stitch embroidery. Hence there was this claim that Tunisian crochet used more yarn. But Modern Tunisian crochet, later than 2000, has incorporated many stitches and designers have successfully created Tunisian crochet projects that are not bulky.
Can a beginner learn Tunisian crochet?
Absolutely! Its simple enough to teach and easy to pick it up. As always one needs to be patient and just give it a try😊
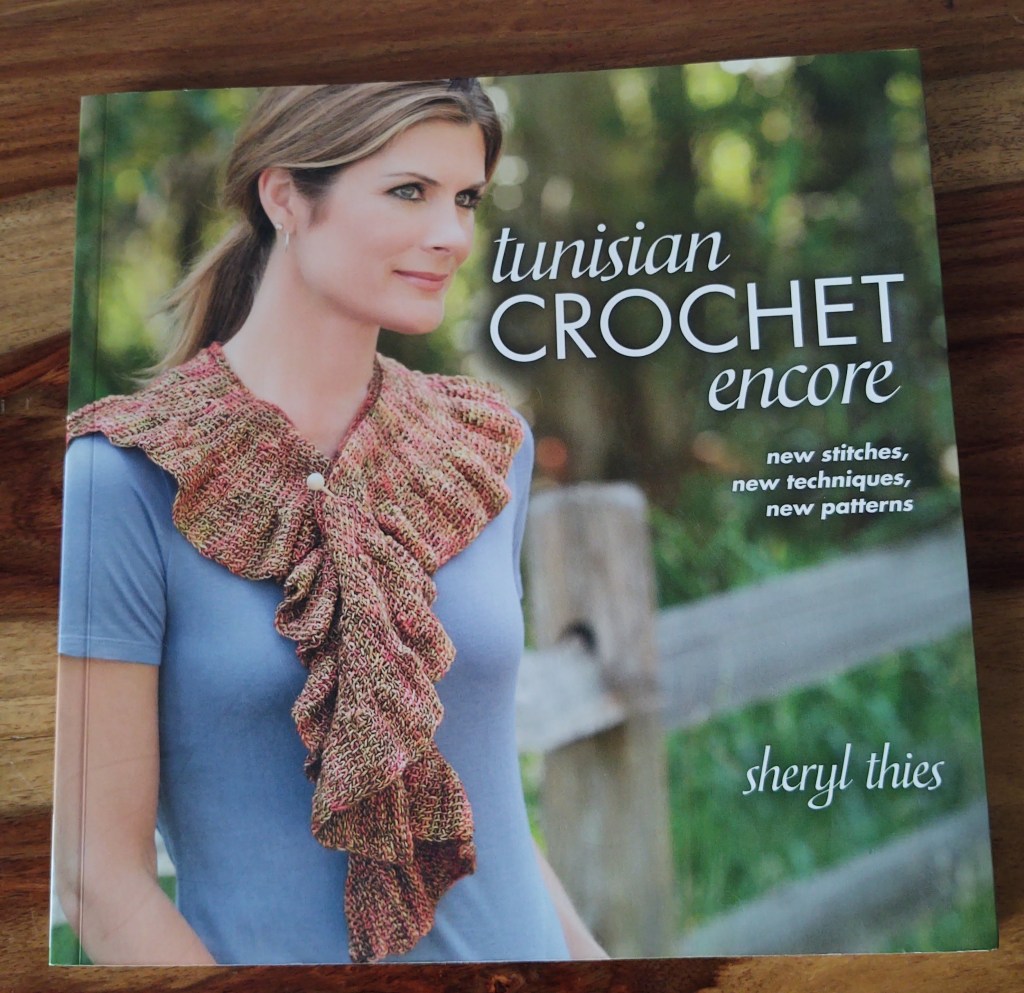
Are there any books on Tunisian Crochet?
There are plenty of Tunisian crochet books available and a plenty of designers who have patterns for beginners.
Can one do color work with Tunisian crochet?
Yes! One square on the chart will refer to one stitch but one row will need two parts to complete it and they are known by Forward pass and Return Pass.
Tunisian crochet is quite easy to learn and it will definitely open many more possibilities once this skill is learnt.
Types of stitches
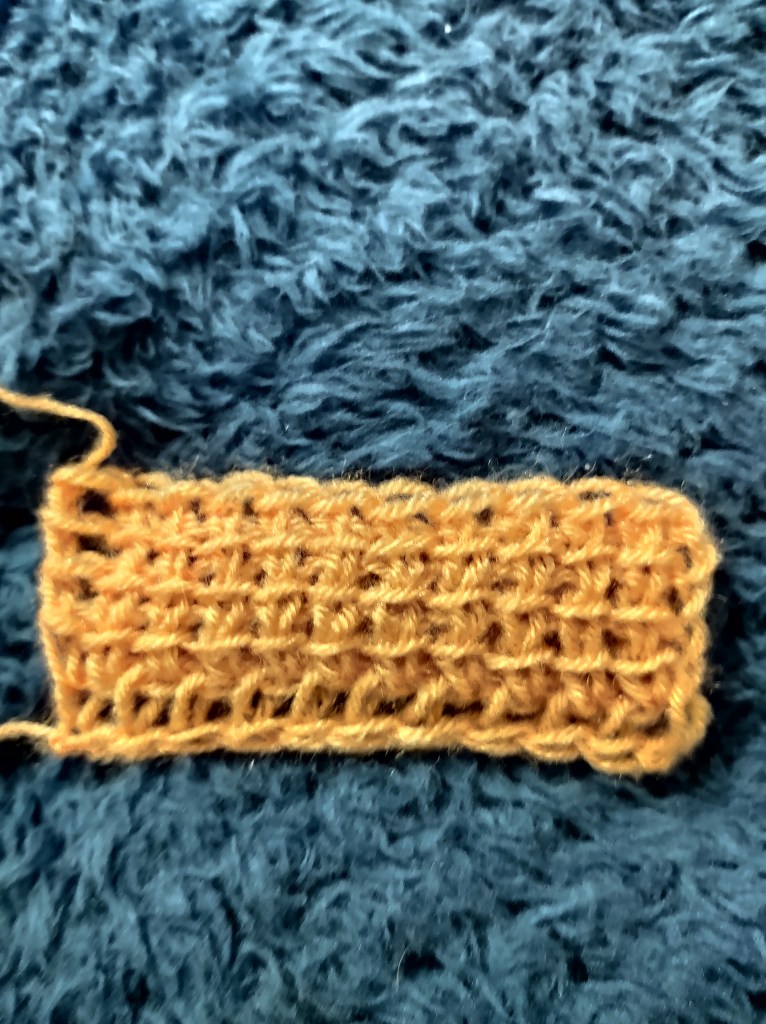
The basic Tunisian stitch is called the Tunisian Simple Stitch and is worked as follows
TSS
Row 1
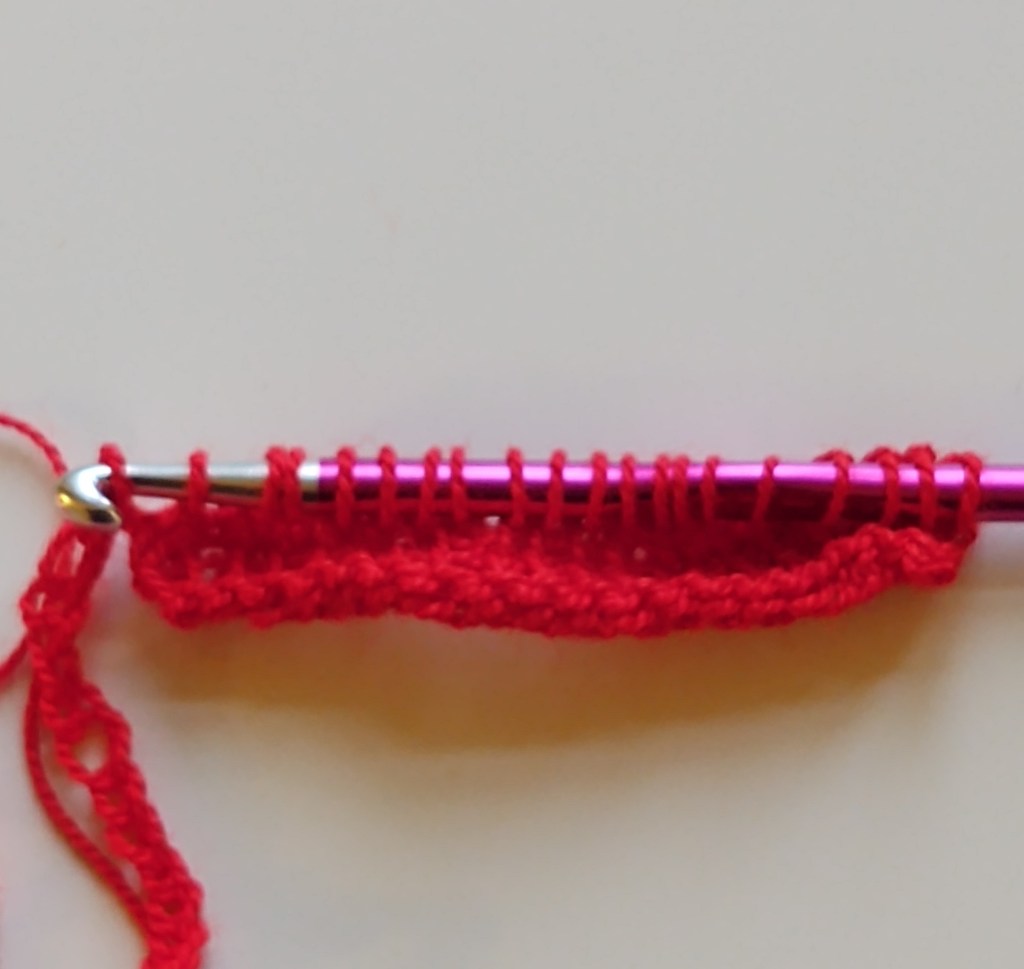
Forward pass: Chain any number of stitches, Insert hook in the second chain from the hook into the back bump of the chain(This will give a neat edge when you are done), yarn over and pull up a loop, (insert hook into the back bump of the next chain, yarn over and pull up a loop) repeat ( ) till you reach the end of the chain. Do not turn. The number of loops on the hook must be equal to the number of chains made. The first loop on hook counts as one stitch always unless mentioned otherwise.
Return pass: Yarn over and pull through one loop on the hook, (yarn over and pull through 2 loops), repeat ( ) till you have just one loop on the hook! That’s it. The first row is done!
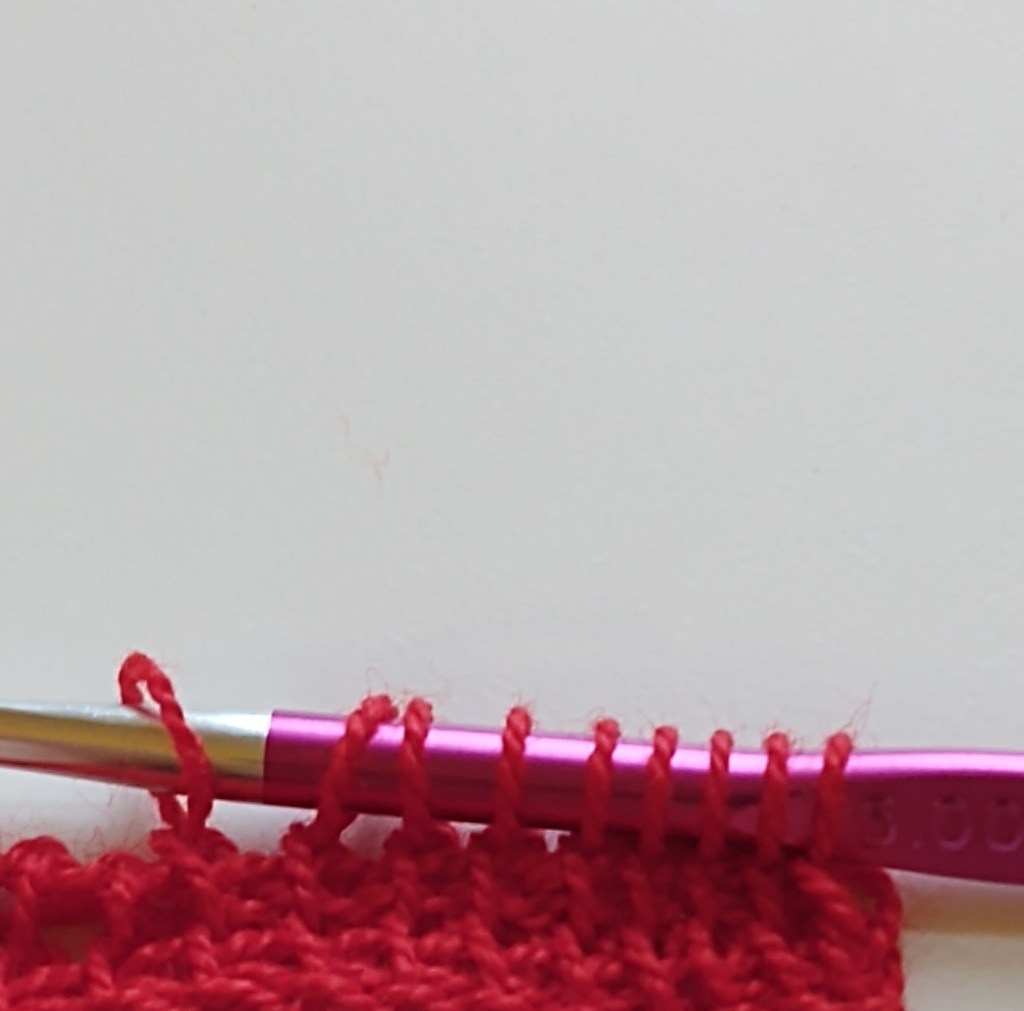
Row 2
Forward pass: Insert hook into the second vertical bar(right to left) , yarn over and pull up a loop, (insert hook into next vertical bar, yarn over and pull up loop) repeat ( ) till you reach the last stitch. For the last stitch insert the hook into the vertical bar and the loop behind it(this will give a firm edge) , yarn over and pull up a loop. Do not turn
Return Pass: worked same as row 1.
That’s it! Repeat row 2 to the height required.
Binding off or finishing off
Once the height is reached, finish off in the following manner
Insert hook into the second vertical bar, yarn over pull up a loop, yarn over pull through two loops, (insert hook into next vertical bar, yarn over , pull up a loop, yarn over pull through 2loops) repeat ( ) till the end of the row. Do not cut yarn.
The Tunisian simple stitch tends to curl, and the piece needs a simple single crochet border around it to help it to lay flat. So, after the last stitch is bound off, chain 1, sc in the same place, sc along the left border of the work till you reach the base chain, 3 sc in the corner, 1 sc in each chain (the opposite side of starting chain) till you reach the right corner, 3 sc in the corner, 1 sc in each edge stitch up the right side border till you reach the top right corner, 3 sc in the corner, on sc in each stitch on top of bound of row, end with 2 sc in the corner where the first sc is. Fasten off and weave in ends. Enjoy your first Tunisian crochet sample.
Don’t forget to check back for the second stitch which can help to reduce the curl significantly😊
You can watch our video tutorial for the tunisian crochet basics for better understanding:
Hope this quick guide helps you to learn and pick up tunisian Crochet! Also feel free to leave any queries and comments below!
